Showing posts with label walnut. Show all posts

Friday

Wednesday

Walnut stain


Two more examples of stained wood frames. These are both walnut, which gives a lovely finish when stained, sealed, and waxed. The top frame is a custom sweep shaped profile and will be a very dark finish, the second frames is a simple flat section and won't be finished as darkly.

Saturday

Walnut with inlaid corners


These walnut frames with inlaid blackwood corners from a while ago are now finished, two were made with oil gilded corner rosettes, and two (for a different customer) were made without the gilt corner ornaments. They were given several coats of shellac sanding sealer which was sanded smooth between coats, they were then given a coat of wax which was buffed to a good shine. The corner rosettes were oil gilded and then glued in place.

Parcel gilt cassetta


This cassetta frame sample is another one I made ages ago but never put a photo up of the end result. Made up from three mouldings, the walnut flat section has a heavy dirt patina, and the corner scrolls are intended to look rustic and provincial. The gilding is quite rubbed through with wax and rottenstone finish. I think I may do some more distressing on this sample, really just give it some more authentic dents, scratches and aging effects.

Polished walnut ripple


A blog watcher sent me a nice message wondering if I ever finished this frame sample. I did but neglected to post the finished result, so here it is, my polished walnut offset corners, pear ripple mouldings with polished and gilded finish, and rosewood centre insert. There were aspects of this frame that I was happy with, others that I was not keen on, but this is nothing unusual. A finished frame was made up, but thankfully it was a simplified version.

Sunday

Inlaid corner squares


These frames are my variations on early 19th Century German Biedermeier frames. A style which was mainly influenced by the French Empire and Napoleonic styles, as well as this simple wooden frame with corner inserts the German style also had variations of the classic gilded Empire frames with composition ornament corners and centres decoration. The period examples are often made from veneered wood like walnut with ebony at the corners. These wooden frames are quite simple but also have an understated style to them.

My frames here are made from solid walnut and the corner squares are made from African blackwood, but you can also use a cheap base wood like obeche and then veneer the main frame with any number of beautiful woods, veneers can be bought from specialist suppliers or you can get a good selection from ebay. The corner inserts can be made from ebony, rosewood, or any hard wood that takes a good finish and they could also be either solid or veneers.


The process so far; the frames were cut to size as normal then the inlay area was removed  on the table saw, using a fence in the same way you would make lap joints. The inlay wood was then cut on the saw into 5mm strips and then cut to size to fit perfectly in the recess. You could in fact do away with the inlay part and just stick the 5mm (or whatever thickness) on top of the corner, but to be honest I think the recessed corner looks better. 


The last step so far was to join the frames as normal, and then glue the inserts in place. Next will be some sanding, layers of sanding sealer/cutting back with wirewool, and wax polishing. I will also be making one of these types of frames with gilded rosettes which are added on top of the inlay square. 

Friday

Repairs and extending rebate


This antique carved Louis XIV frame was damaged and broken at all four corners, which were loose and wobbly. First I put glue and filler in the gaps in the mitres, then I put some plywood pieces on the corners with glue and screws to brace and secure them. Next the rebate needed extending to fit the painting that it will surround, quite an amount of wood was removed from the long sides which meant the corner splines were cut through, so the plywood braces are even more necessary. The frame appears to be carved from walnut (or oak??), next I will work on the front, fixing and restoring the corners and centres.

Thursday

Walnut lap joint


This walnut moulding has lap joint corners, these are really simple to do on a table saw. Another frame will be going around the outside so the rebated profile will not be a problem.

Walnut frame


This frame is made from walnut, it has just been given a coat of shellac sanding sealer and then some Harrell's wax polish. A simple but lovely looking finish.

Saturday

Unwanted frames


Framing work often involves taking a picture out of an existing frame and choosing something new. Sometimes the frame and mount may look a little outdated, maybe the customer just does not like the style, or heaven forbid it does not fit in with the room decor where it will hang. Some of the old frames are just discarded, anything worth keeping is offered back to the customer, artist, or gallery but they rarely want them back.

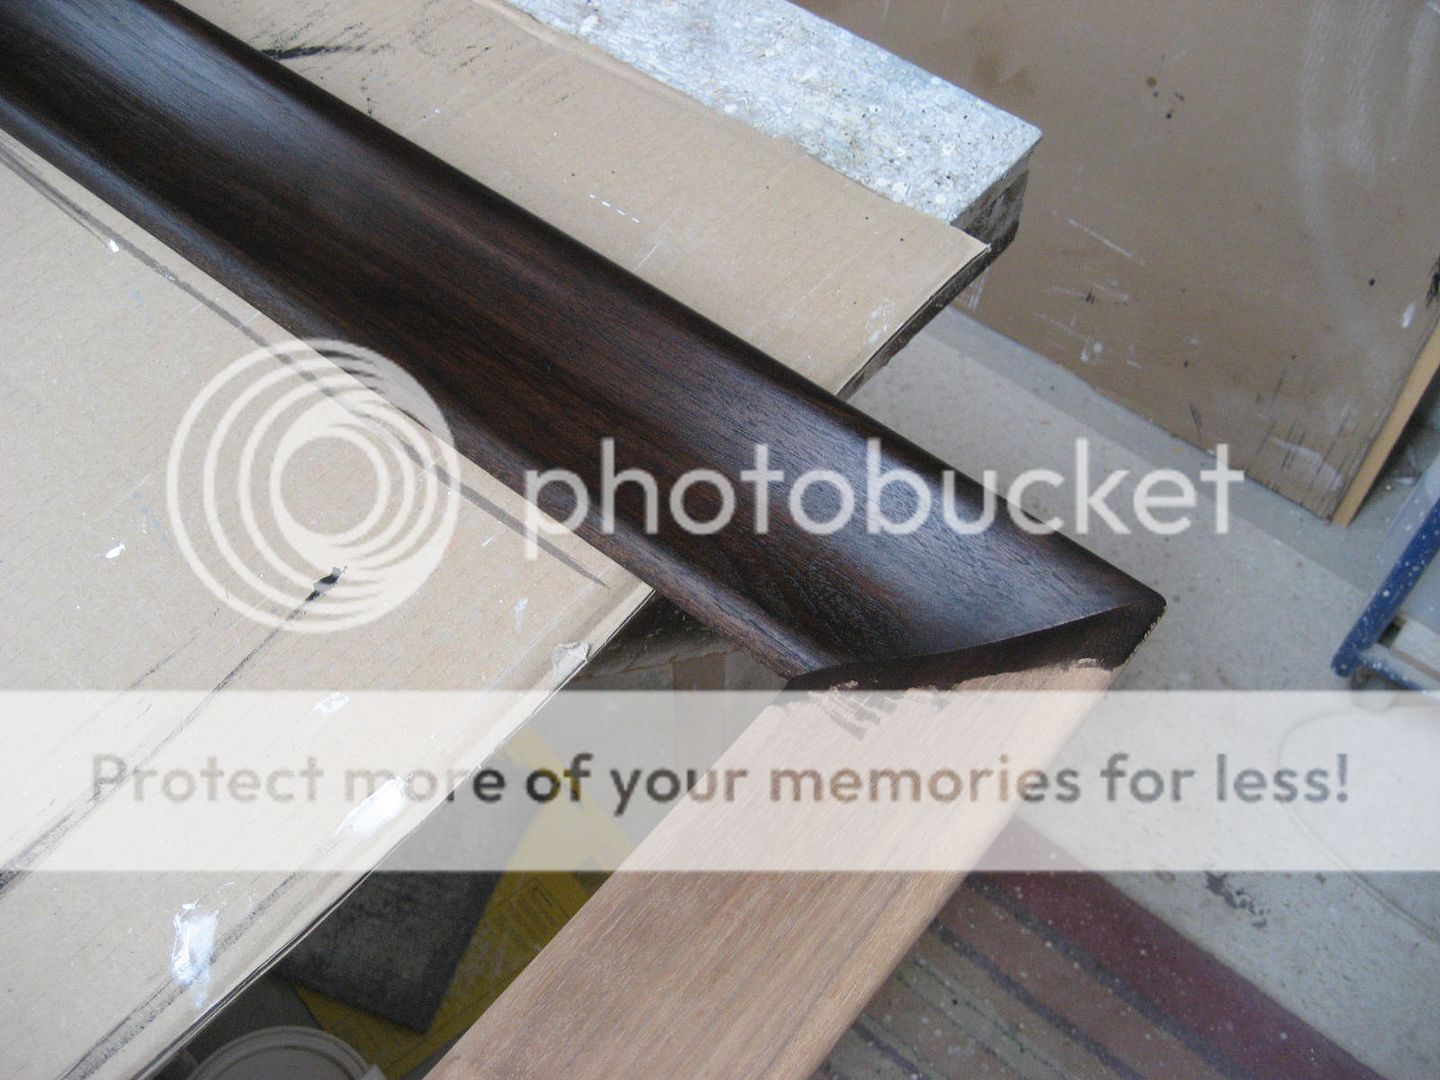
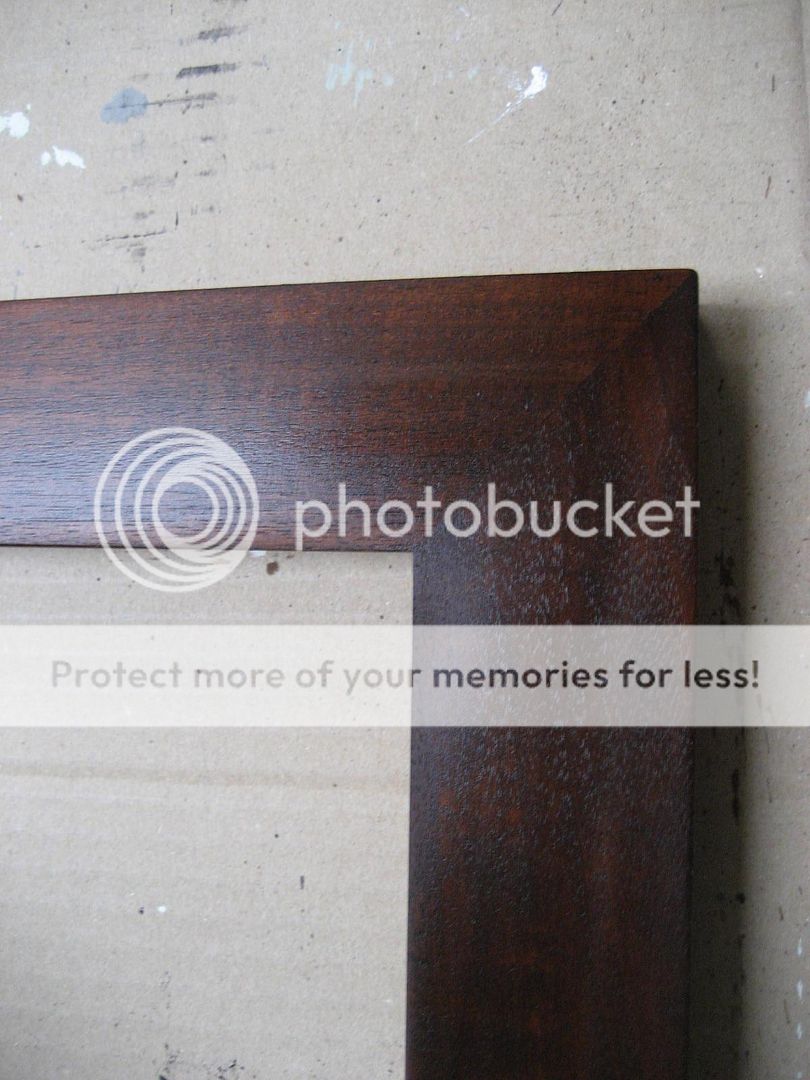
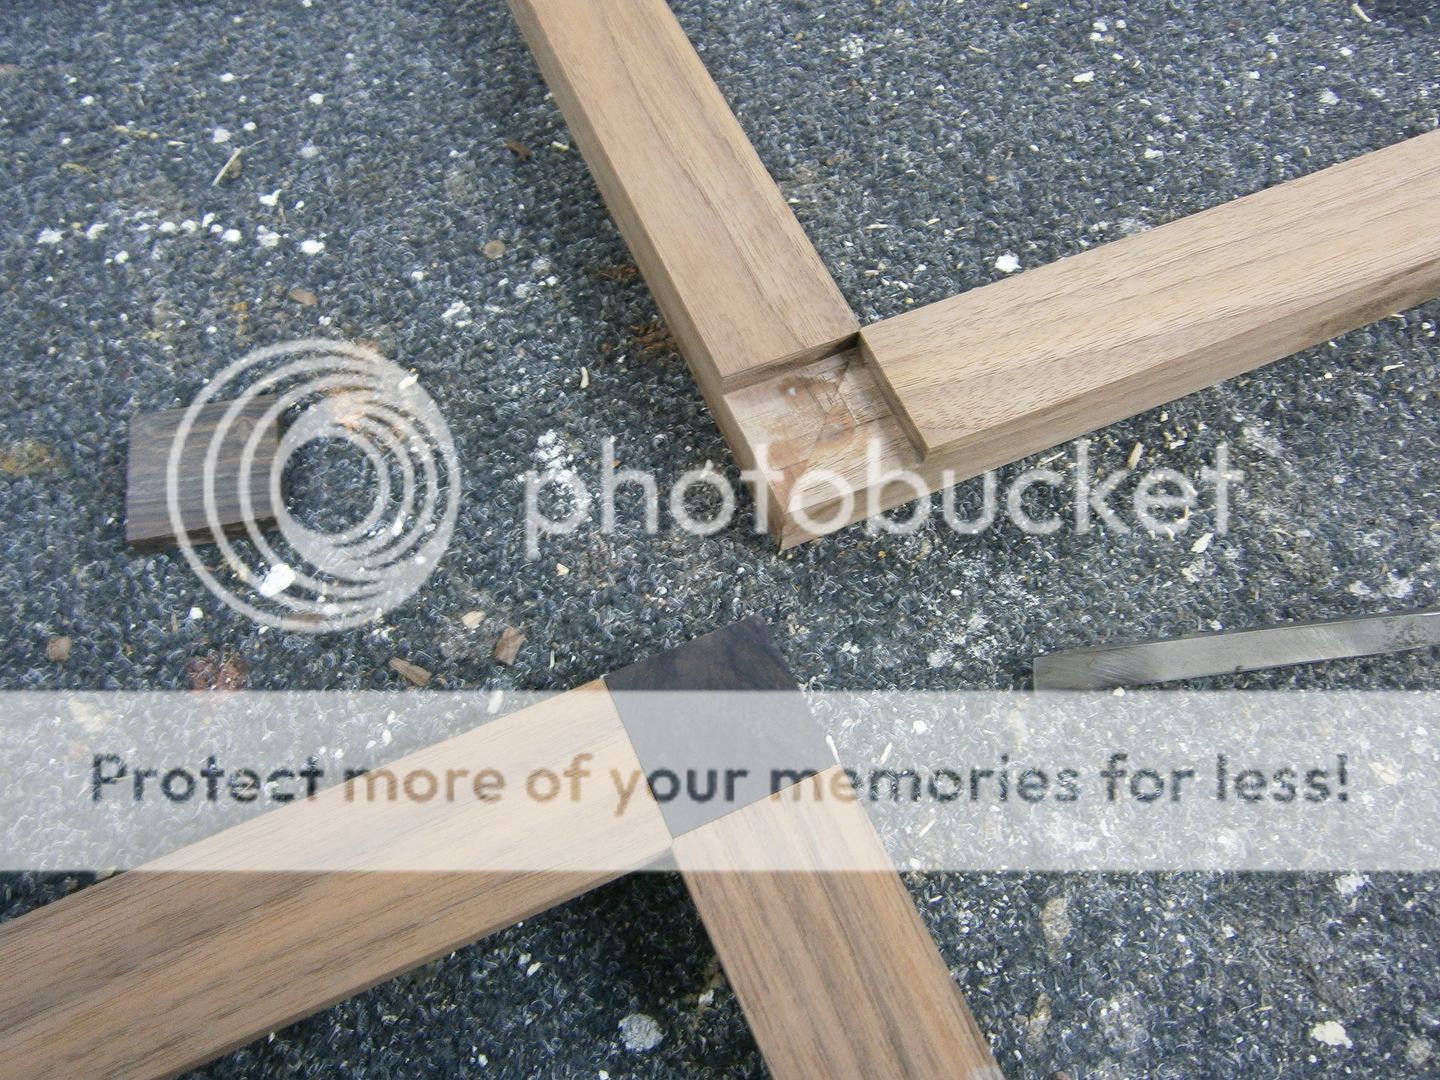
Here are just a few frames that I have got from re-framing pictures, the two water gilded and burnished 1970's frames at the front are my favourites amongst these examples, behind them there is a water gilt spoon made by John Jones Ltd in London. The frame behind the reproduction Watts (outer) is a nice shape, probably 1980's and behind this is a mid 20th C water gilt cushion frame which came off a John Nash landscape. At the back is a simple unfinished walnut flat which is a lovely wood to stain and wax.

Old oak frames a regularly discarded for newer framing (all be it usually in 'old' effect or style), when I think they look very good on old prints, pictures, and photographs. Often sadly and inevitably (and sometimes for the better) pictures and paintings are taken out of their original or later re-frames to meet new tastes.

Friday

More mouldings


The last two mouldings have been cut for this sample, they will be oil gilded and then fixed to the frame. The next photo of this will be the end result.

Thursday

Samples...


The two samples from a few posts ago, a little further along. The walnut offset corner has been made nice and smooth and two ripple mouldings have been glued in place. The poor fitting of the rosewood insert was intentional as my original idea was to have a moulding going around it, covering the join, although I now wish I had made it perfectly flush. This would have not taken much more work and I think the extra moulding may be a little too much. Anyway we will see how it develops.

Friday

Samples and mock-ups


These two samples are a little different to the usual handmade frames I make, they are amongst 6 samples I am making up for a very good client. There are no strict design ideas, just a guide, so I can try some new things. The more traditional cassetta frame will be quite conventional, with the outer egg and dart moulding and the inner shaped with shot beading moulding being water gilded and given lot of ageing and antiquing. The walnut flat will be polished and I may add some gilt patterns although I have not quite decided on this yet.
The offset corner frame will have the little rosewood square inlaid in the hole, and some shaped mouldings on the inner and outer edges. The other four samples have not been started yet, and these two may end up looking nothing like my original ideas!

Saturday

Finishing the walnut frame


Here is the finished frame, a 17th Century style polished wood frame with oil gilded sight edge. 

Friday

Gilding walnut


Here the the sight edge on the walnut frame is being oil gilded in double thickness 23.5ct gold leaf. Next comes more polishing, distressing, and the antiquing. I actually want to keep this frame, but the customer has been waiting forever so I will have to make another one for myself.

Walnut frame progress...


After a huge number of shellac coats, with rubbing back between every couple of coats the walnut frame was cut to size and joined. Now comes more stages of polishing...

Monday

Walnut frame


This walnut moulding was given a good sand to remove the machine cutting marks that are often left on hard wood mouldings. It was given one coat of stain, and then had lots of coats of shellac, with sanding between every other coat to build up the smooth surface. The finish will be a deep polished surface with gilded sight edge, to replicate an antique polished wood frame.

Wednesday

Finishing the walnut frames


Both were glazed with Artshield UV acrylic, the mount and undermount is cotton mountboard, then there is a foamboard filler, and the backing is MDF. The long frame has an aluminium brace on the back, to provide strength and secure the long lengths of the frame.

Tuesday

Long mount


This 70" long mount was too big for my mount cutter so I had to use a long metal rule and a hand bevel cutter that runs along a channel in the straight edge. The standard size for mountboard is 32" x 44", with a good selection of boards available in the 'Jumbo' size of 44" x 64". Over this size and the choice of mountboard is extremely limited, with only museum quality cotton board in a couple of colours. The board I used for this size of job was 48" x 72", in white. Although for even bigger jobs there are larger sizes available at 48" x 96" and 64" x 86". Above these sizes, or if colours other than white are required, then mountboards can be spliced together.

Big walnut frames


These walnut frames were made for two large limited edition prints, the smaller one is 32" x 50", and the long narrow frame is 23" x 70"
Walnut is a lovely wood, but it was quite difficult to get the long lengths required for these frames without knots or other faults in the timber. The corners were joined with dovetail key joints.