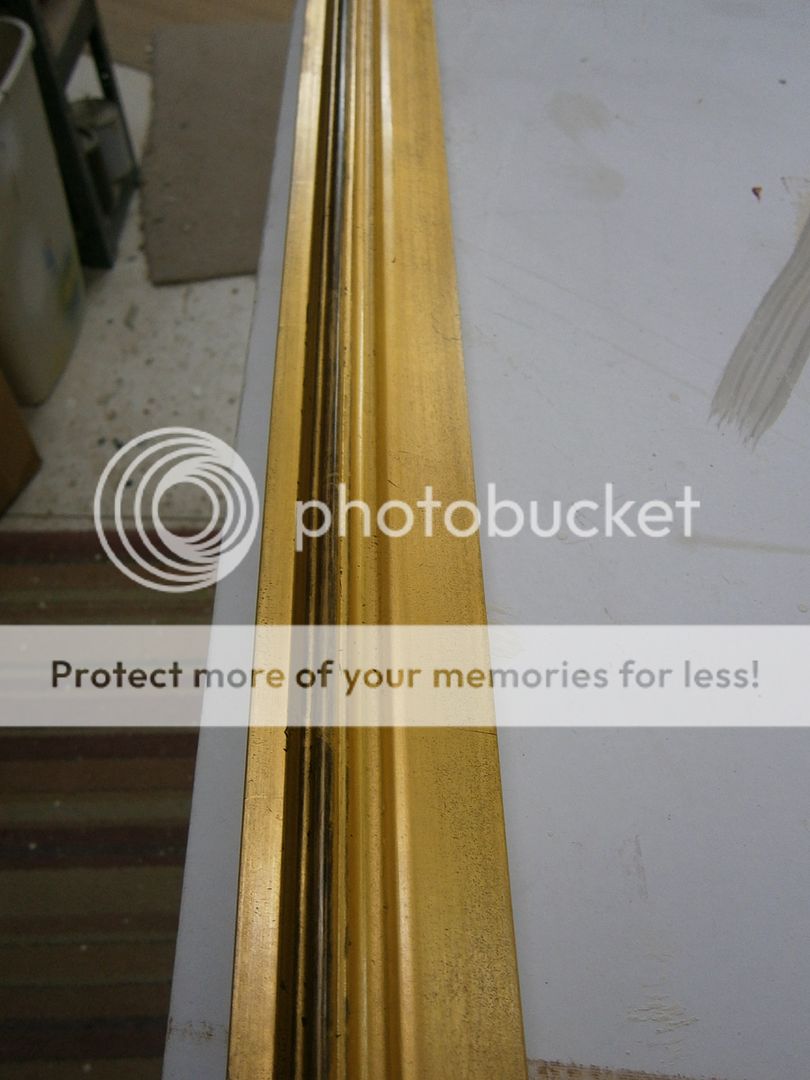
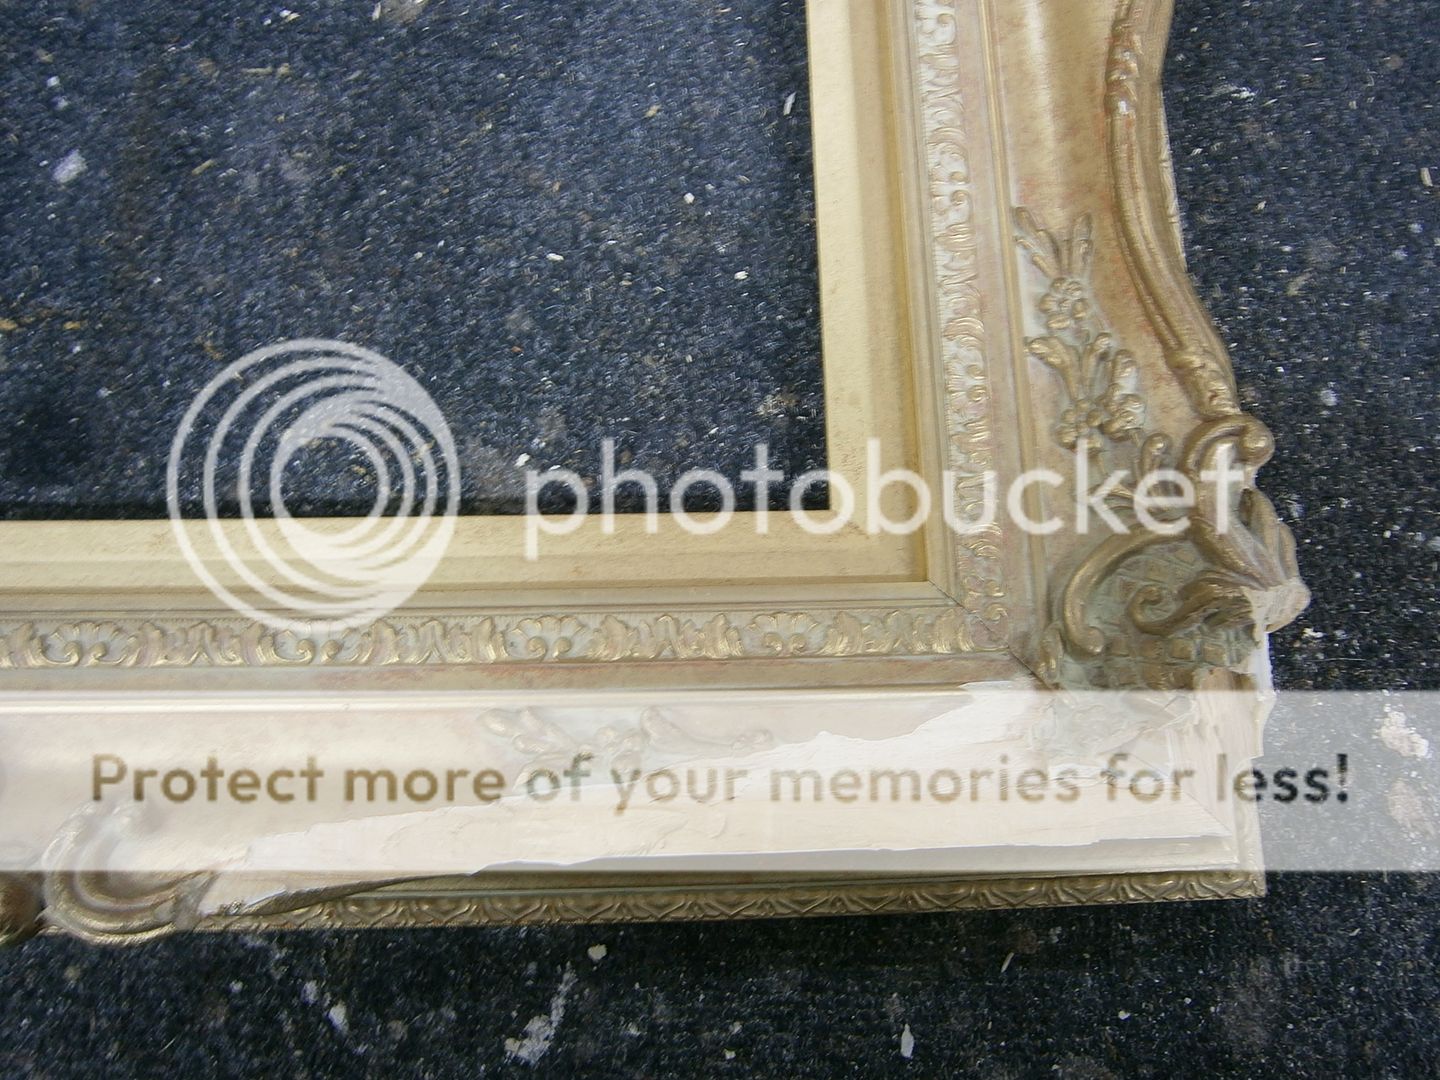
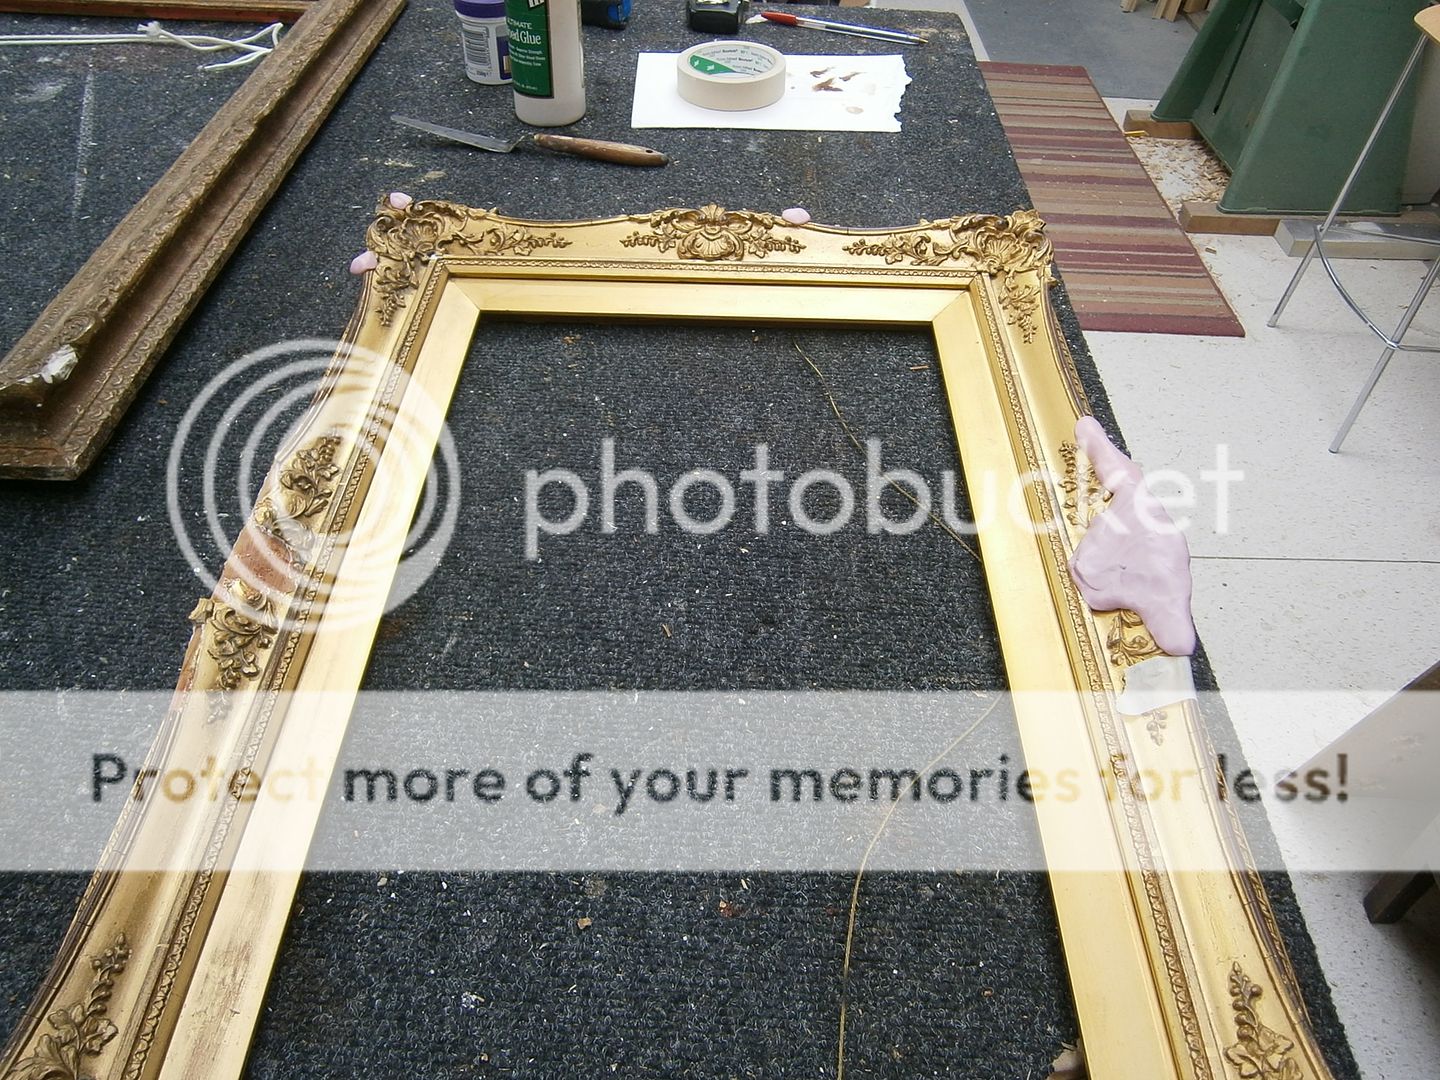
The repairs to this frame still need to have the detail sharpened and the edges/joins tidied up and blended in with the original ornament. The repairs can then be painted with bole and gilded.
Saturday
Repairs to a frame
The repairs to this frame still need to have the detail sharpened and the edges/joins tidied up and blended in with the original ornament. The repairs can then be painted with bole and gilded.
Labels:
antique frame,
repair,
repairs,
restoration,
restore,
swept
Gilded oak
This oak frame has been water gilded so the grain shows through the gilding. It's an easy to do finish: give the frame a coat of glue size, paint on 3 coats of bole, water gild in 23.5ct gold, distress lightly with 0000 wire wool, give the frame a coat of medium oak wax, dust over with rottenstone, and finally give it a light buff with a cloth.
Labels:
oak,
water gilded
Antique copy
These photos show various stages of making a matching partner frame for a 19th Century frame. The top shows some different bole colours painted on the copy, the middle photo shows the frame after it has been gilded in 23.5ct gold, with some distressing to the outer moulding. The last photo shows the original frame on the right and the new frame after some more distressing and antiquing, showing they are nearly a matching pair. Next comes a little more toning and patina to make them look the same.
Labels:
antique frame,
water gilded
Tuesday
Monday
Spray finish
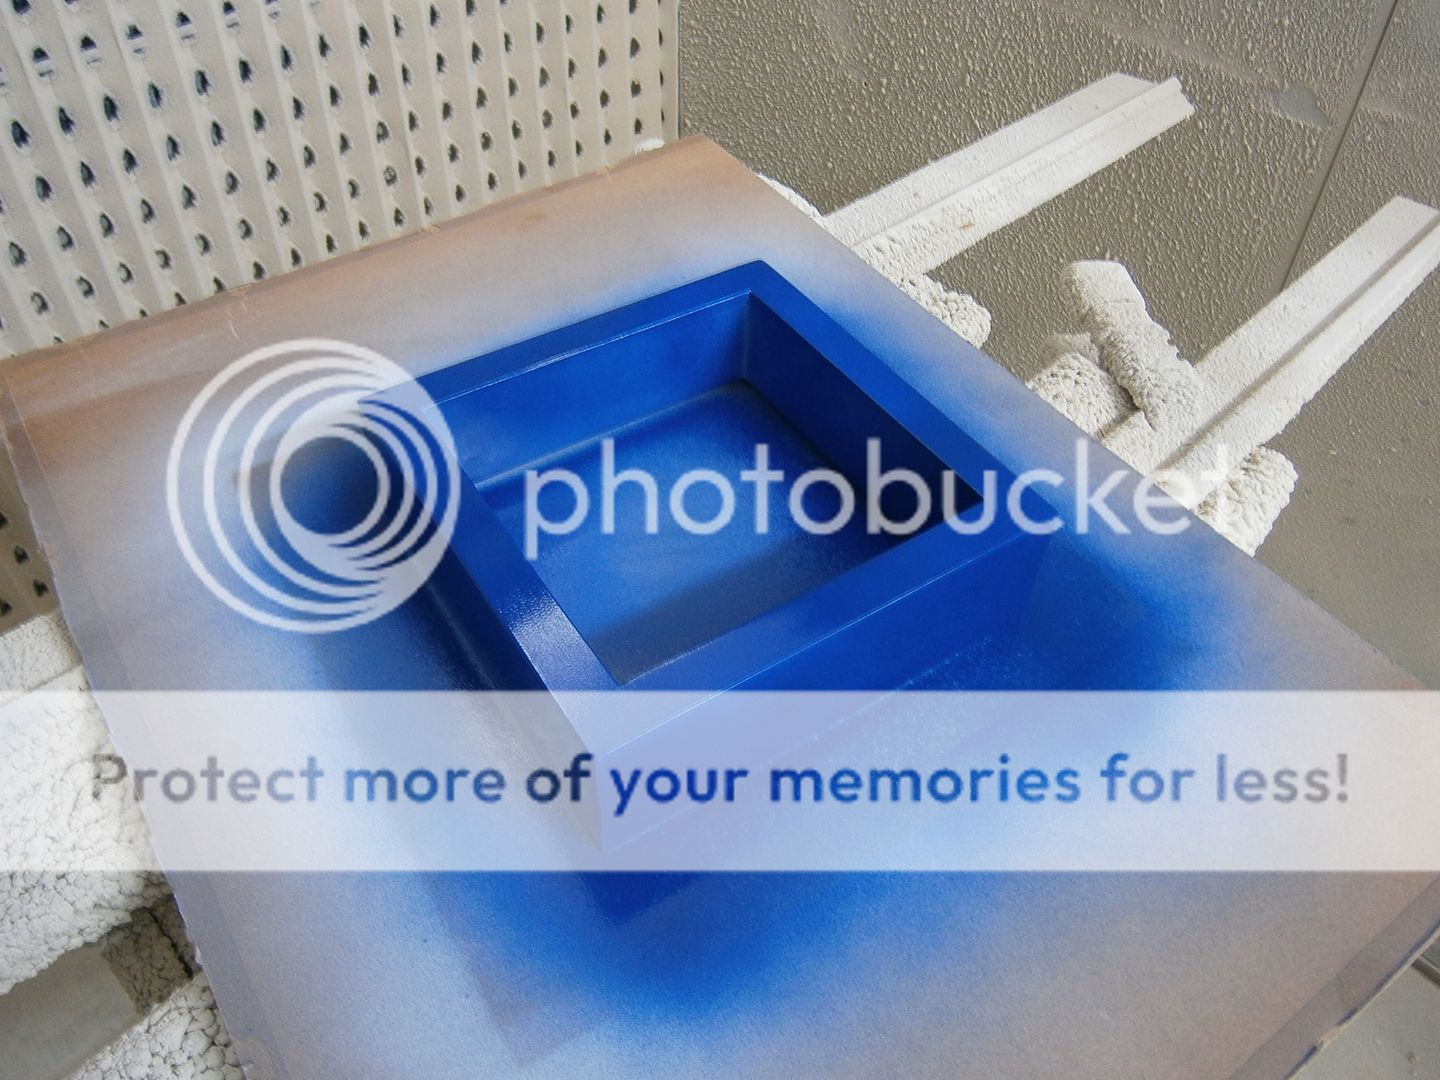
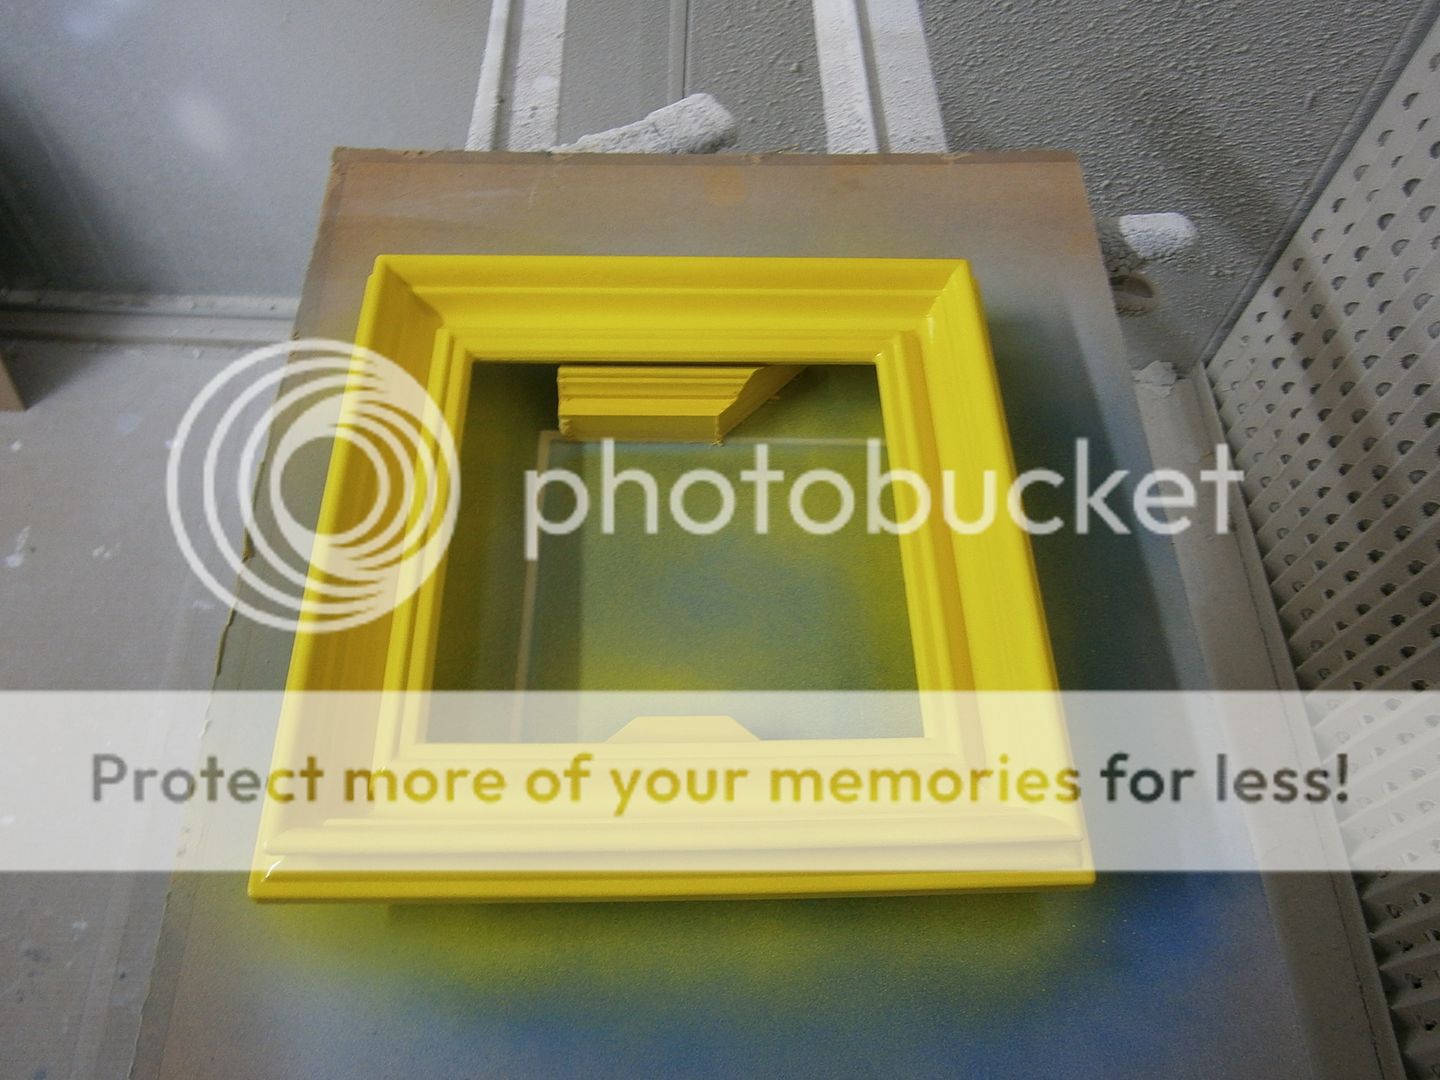
These two frames will eventually have bright glossy sprayed finishes. The barewood frames are obeche which has been coated in several layers of gesso which was then sanded smooth. In these photos I have just sprayed the frames with two coats of white primer, next the surface will be lightly sanded back, and then I will use cans of car spray paint to get the smooth finish which will then be sealed with spray lacquer. Sometimes I mix up paint and use a spray gun but occasionally I use the vast range of colours easily available for car body repairs. It can be tricky getting a good even finish without drips or runs, but when thin layers of paint are carefully built up, you can get a really good smooth finish.
Labels:
spray booth,
spray painted
Black and white gold
In the top photo I have gilded the inner and outer edges of this frame in 12ct white gold which was lightly distressed to show the red bole. The gilding was then masked off, and the middle panel was painted with black Plaka. Once dry the next stage was to add some speckles/splatters in watered down grey/black and the whole frame was then sealed with a semi gloss varnish.
Labels:
black,
parcel gilt,
water gilded,
white gold
Sunday
Not as bad as it looks...
One of the frames from the previous post, with a huge section missing, but luckily I have all the bits so they just need gluing back in place.
Repairs waiting to be done
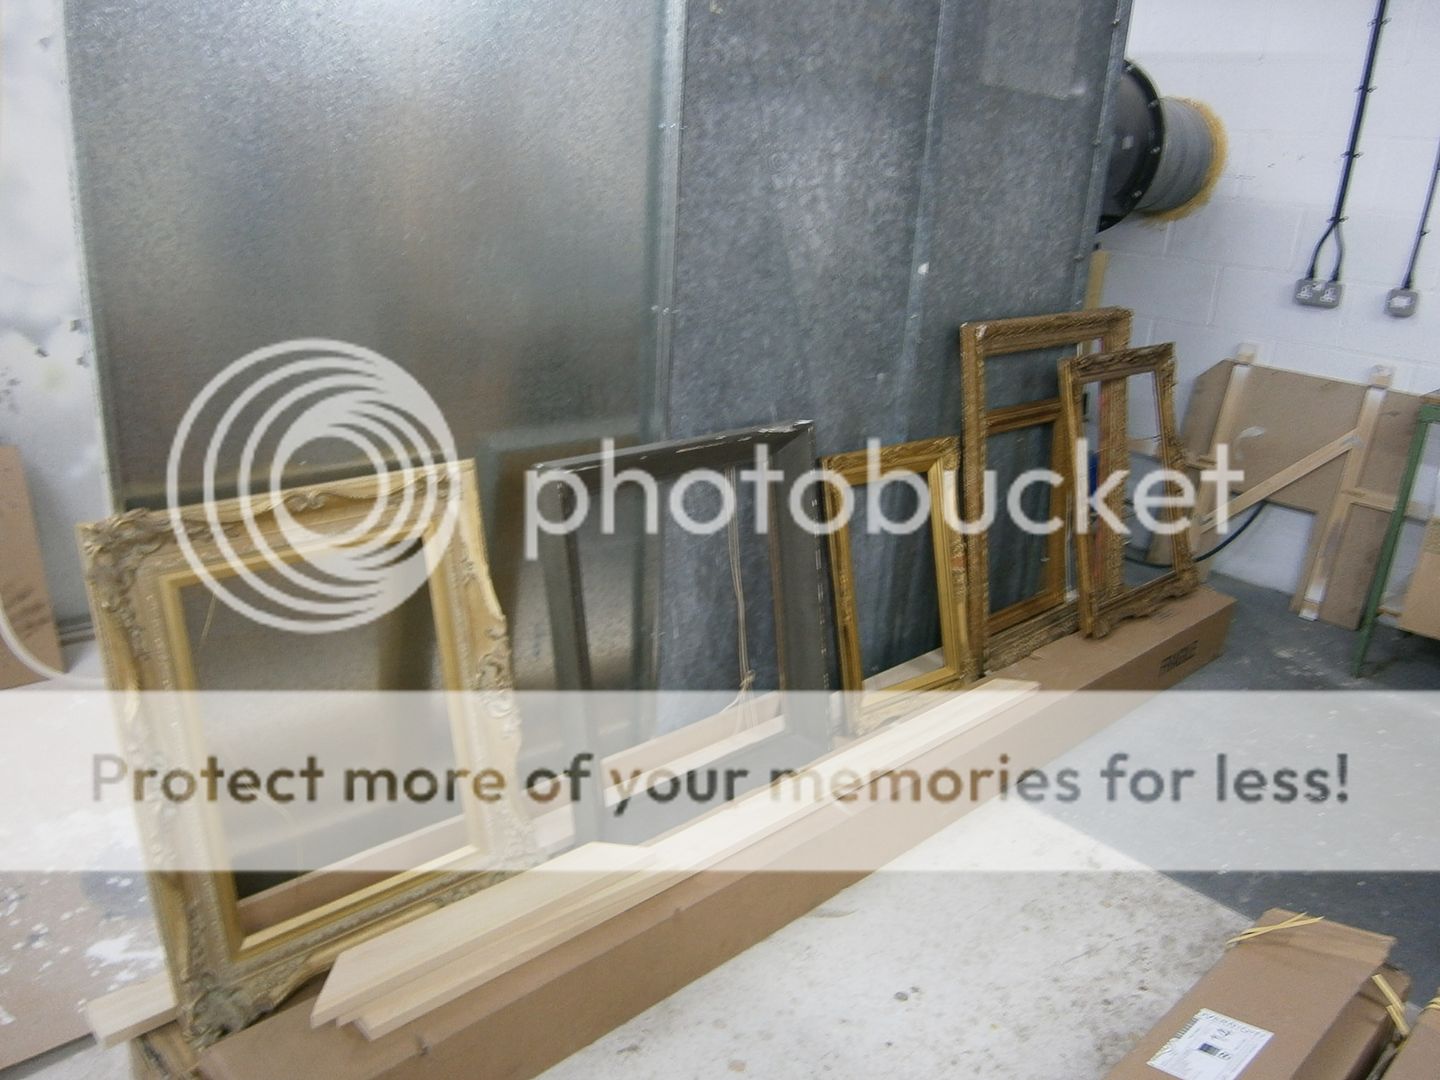
A line of frames waiting to be repaired and restored next week. I intend to build some sort of drying/storage racking in this part of the workshop, another job for the list of things to do. It is quite a big space which could easily take a large rack for storing frames as they dry.
Labels:
repair,
restoration,
restore
Finished pine frame
Carrying on from the earlier stages, In the photo above the middle section has been painted.
In the next stage, show above, the frames paint has been distressed with fine sand paper and abrasive pads. Then a grey colourwash was applied all over.
Next some wax is put all over, and the frames were then left over night. Seen in the photo above.
The last work on these frames was to do a little more distressing on the inner mouldings using wire wool, and then to polish all over. I really like this finish, you get lots of subtle colour variations coming through the different layers, which hint at the work and time involved to get the paint effect.
Labels:
bronze powder,
painted,
pine
Saturday
Antique watercolour frame
This 19th Century watercolour frame was overpainted and had various missing sections of composition ornament. The paint was stripped off and then the missing sections were replaced.
The frame after repairs and gilding:
Labels:
antique frame,
repair,
restoration,
water gilded
Float frame
The finished canvas float frame from previous posts, with distressed and burnished water gilded 22ct moon gold. Below are some more float frames which have been painted.
Labels:
canvas tray,
float frame,
moon gold,
painted,
water gilded
Pine frame progress
The next stages of the pine frame were to distress the bole with sand paper, next dark gold bronze powder was brushed on the inner and outer mouldings, and in the last photo some paint coats have been applied. Tomorrow comes the last few stages: more paint, more distressing, paint washes, wax, polishing, and finishing touches.
Labels:
bronze powder,
painted,
pine
Friday
Aluminium leaf gilding
I have gilded this frame in aluminium leaf, it has been water gilded in the same way as if any other type of leaf like 12ct white gold or 23.5ct gold had been used. Aluminium leaf, like imitation gold leaf is larger than the more expensive real gold leaf or silver leaf, so I stick two tips together to make it easy to pick up. Aluminium and imitation gold leaf (also called metal leaf, Dutch metal, or schlag leaf) can also be burnished to give a look of deep polished metal, although not quite to the same degree as real gold leaf, and imitation gold will always need to be sealed or varnished to prevent oxidation and tarnishing which will dull the burnishing. In some cases they make a good alternative to the more expensive metals.
Labels:
aluminium,
water gilding
Pine frame bole
The next stage on the pine frames is one coat of orange bole and one coat of red bole. This will then be distressed a little before applying the gilt and paint finishes.
Moon tray
This frame is actually a repair job, as the gesso was flaking off all round the edges. When it came in I was concerned it was one I had made, as I have done similar frames for the gallery and artist before, so it could have been one of mine. But upon sanding back the gesso I thankfully saw it was not one I had made; the corners were joined with cross pinned nails and no underpinner wedges were used, and the fillet was also nailed into place; both techniques I have never used before. The next post on this frame will show the distressed and burnished 22ct moon gold. This style of frame is used with canvases or panels, where a gap is left around the edge of the artwork giving a floating or shadow effect. The profile has lots of names: tray frame, float frame, canvas tray, floater frame, float tray, and L frame to name a few combinations.
Labels:
canvas tray,
float frame,
moon gold,
tray
Thursday
Gesso
I am gessoing some frames at the moment, 10 are done and 10 more to do this week for gilding jobs that need doing in the next couple of weeks. The gesso on the frame in the top photo was brushed on, only because it was a little big for the spraying area to easily move round. The other frames were all sprayed, you can see in the bottom photo the nice smooth finish from spraying; which means minimal sanding needed and quicker production. For ages I have intended to make a simple turntable in place of the current spray table (an old Black & Decker workmate), I have all the parts needed but never seem to have enough time. I currently use a simple gravity feed gun although I plan to get a new set-up in the coming months.
Labels:
gesso,
spray booth,
spray painted
Cove frame
Here is a great antique cove frame, the inner carved leaf pattern is separate and is applied to the frame over a brightly burnished flat. Lovely colour to the gilding and bole.
Labels:
antique carved frame,
cove,
Georgian,
water gilded
Pine primer
This is the pine moulding from a few posts ago, the knots have been sealed, and the whole frame painted with size and primer. It will next have a coat of gesso brushed on and then a few more coats sprayed on.
Walnut lap joint
This walnut moulding has lap joint corners, these are really simple to do on a table saw. Another frame will be going around the outside so the rebated profile will not be a problem.
Walnut frame
This frame is made from walnut, it has just been given a coat of shellac sanding sealer and then some Harrell's wax polish. A simple but lovely looking finish.
Tuesday
Pine knots
The (new) moulding in last post was made from tulip, which is a perfect wood for gilding; virtually no knots, close grain, and very stable. This frame is made from pine which has been used alot over the years for making frames but is really horrible for gilding and painting on. The moulding above only comes in pine but it has to be used for a gesso/paint/gilt finish so the timber needs a little more preparation than tulip or obeche. Here the knots are being painted with a shellac based primer called Zinsser BIN.
Replica frame
A 19th Century frame on the left, which has been cut down slightly, and on the right is a replica moulding machined from tulip. The new frame will be finished the same as the antique one, to make a matching pair. The copying of the profile is done by a picture framers who make their own mouldings, the cutting knife heads for the moulding machine have to be made up to order, and then the replica moulding can be made.
Labels:
antique frame,
reproduction