Showing posts with label bronze powder. Show all posts

Wednesday

Monday

Paint Finish


A simple finish on a gesso frame; sponged on red and black paint, then bronze powder is sponged on top. Distressed a little with an abrasive pad, a sealer coat of shellac, and then a wax/wash finish.

Saturday

Metal Leaf Swept


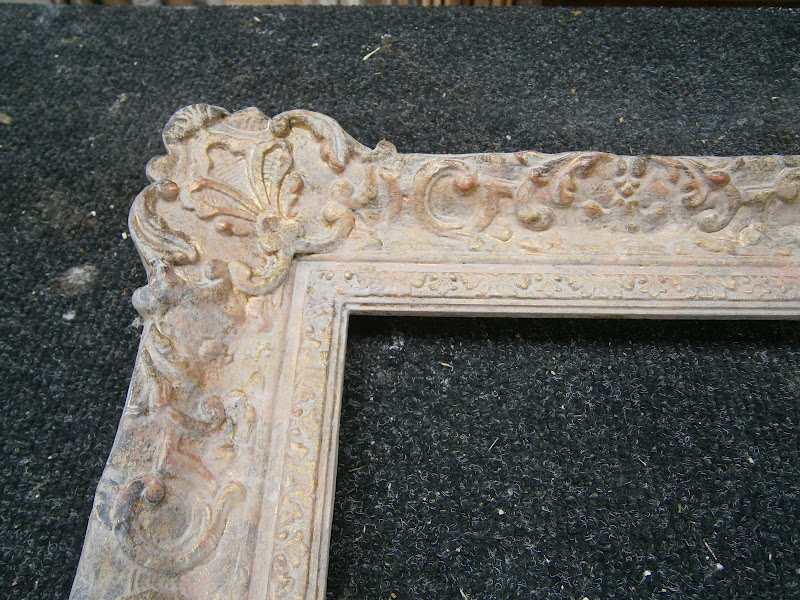
This vintage early 20th Century swept frame has been refinished, the process is pretty quick and simple. First a shellac (Zinsser BIN) primer coat is painted on, then a red/brown casein based paint, the high points are painted with acrylic gold size and metal leaf is put on all these areas. Next the remaining red areas are painted with a bronze powder paint, which is made from glue and bronze powder. The last stage is a pigmented button polish coat all over and then some wax.


Friday

Gilt Paint Finish


A frame with a distressed gilt paint finish.

Saturday

Gilt finish


A simple bronze powder finish has been done on this frame.

Thursday

Bronze powder


Friday

Variation on the usual


These three frames are similar to my regular gilded/painted frames, except the gilding is done in bronze powder instead of gold leaf. A budget alternative to a water gilded finish.

Distressed frame


A finished distressed paint and bronze powder gilt frame, with a painted gesso slip.

Sunday

Bronze powder paint


This frame has had gesso and orange bole base layers, then with bronze powder gilt on the inner and outer edges. In the second photo I am brushing on a green paint wash on the scoop and sides.

Saturday

Overpaint


A good example of overpainting or the touching up of the gilding on parts of a frame with gilt paint. The top photo shows the original gilding with no later applied gold paint. The bottom photo shows this part of the frame has been painted with a gold paint, which has oxidised and tarnished over time, leaving the distinct brown bronze colour. The overpainted section is the bottom length of the frame, which would naturally catch more dust than the top section (the other photo), the bottom section would therefore darken quicker, and through cleaning and wiping over would lose the gilding as it is rubbed away over time. 

So years ago someone took some gold paint and painted it on the bottom section to replace the worn away gold, and brighten up this area to try and match the rest of the frame, it would have looked OK for a few years but once it tarnished due to exposure to the air (a sealer or varnish would have helped prevent this) it turned this brown bronze colour and does not look very good. The gold paint has also obscured some of the finer detail in the compo ornament.

Despite this it is a good compo frame, very delicate and fine mouldings make up the profile, two narrow sanded flat sections, and nice acanthus leaf pattern.

Thursday

Distressed paint


This frame is a variation of a finish I did recently on the blog:
Pine frame, using the same basic steps but on a different profile.


Monday

Plain frame


A simple finish of gold bronze powder with off white painted scoop and grey painted sides.

Sunday

Finished pine frame


Carrying on from the earlier stages, In the photo above the middle section has been painted.


In the next stage, show above, the frames paint has been distressed with fine sand paper and abrasive pads. Then a grey colourwash was applied all over.


Next some wax is put all over, and the frames were then left over night. Seen in the photo above.


The last work on these frames was to do a little more distressing on the inner mouldings using wire wool, and then to polish all over. I really like this finish, you get lots of subtle colour variations coming through the different layers, which hint at the work and time involved to get the paint effect.

Saturday

Pine frame progress


The next stages of the pine frame were to distress the bole with sand paper, next dark gold bronze powder was brushed on the inner and outer mouldings, and in the last photo some paint coats have been applied. Tomorrow comes the last few stages: more paint, more distressing, paint washes, wax, polishing, and finishing touches.

Sunday

Last stages of the corner and centre frame


In the two photos above I am applying a light gold bronze powder, mixed with rabbit skin glue, to the Louis XIV style corner and centre frame from a few posts ago. The mix is quite thin so you get some of the base colours coming through.


Once the gilt finish is dry it was rubbed carefully with wire wool to make some of the base colours more visible on the high points of the frame, and to just give a slight distressed look. The whole frame was then sealed with a spray varnish, although something like shellac could also be used. You could use this as the finished result, in which case wax could have been used to seal the surface, maybe with some rottenstone to add some variation to the ground and high points. This frame will also have a wash applied...


A grey white paint wash was applied over the whole frame, it is just watered down Farrow and Ball emulsion. A damp cloth was used to remove some of the wash from the high points to show some more gilt and paint in places. When the wash had fully dried  a dry cloth was used to apply a little wax to the high points and give a slight gloss to these areas.


Here is the finished frame with gesso slip and painting, which is by John Hammond and is from John Noott Galleries - Broadway Modern.

Wednesday

Bronze powdered


An easy to do finish of rubbed through bronze powder over red, the centre panel is thin paint over bronze powder which shows through the paint, although this is not visible in the photo. The whole frame was then sealed with an acrylic varnish.

Saturday

Bronze gilt finish


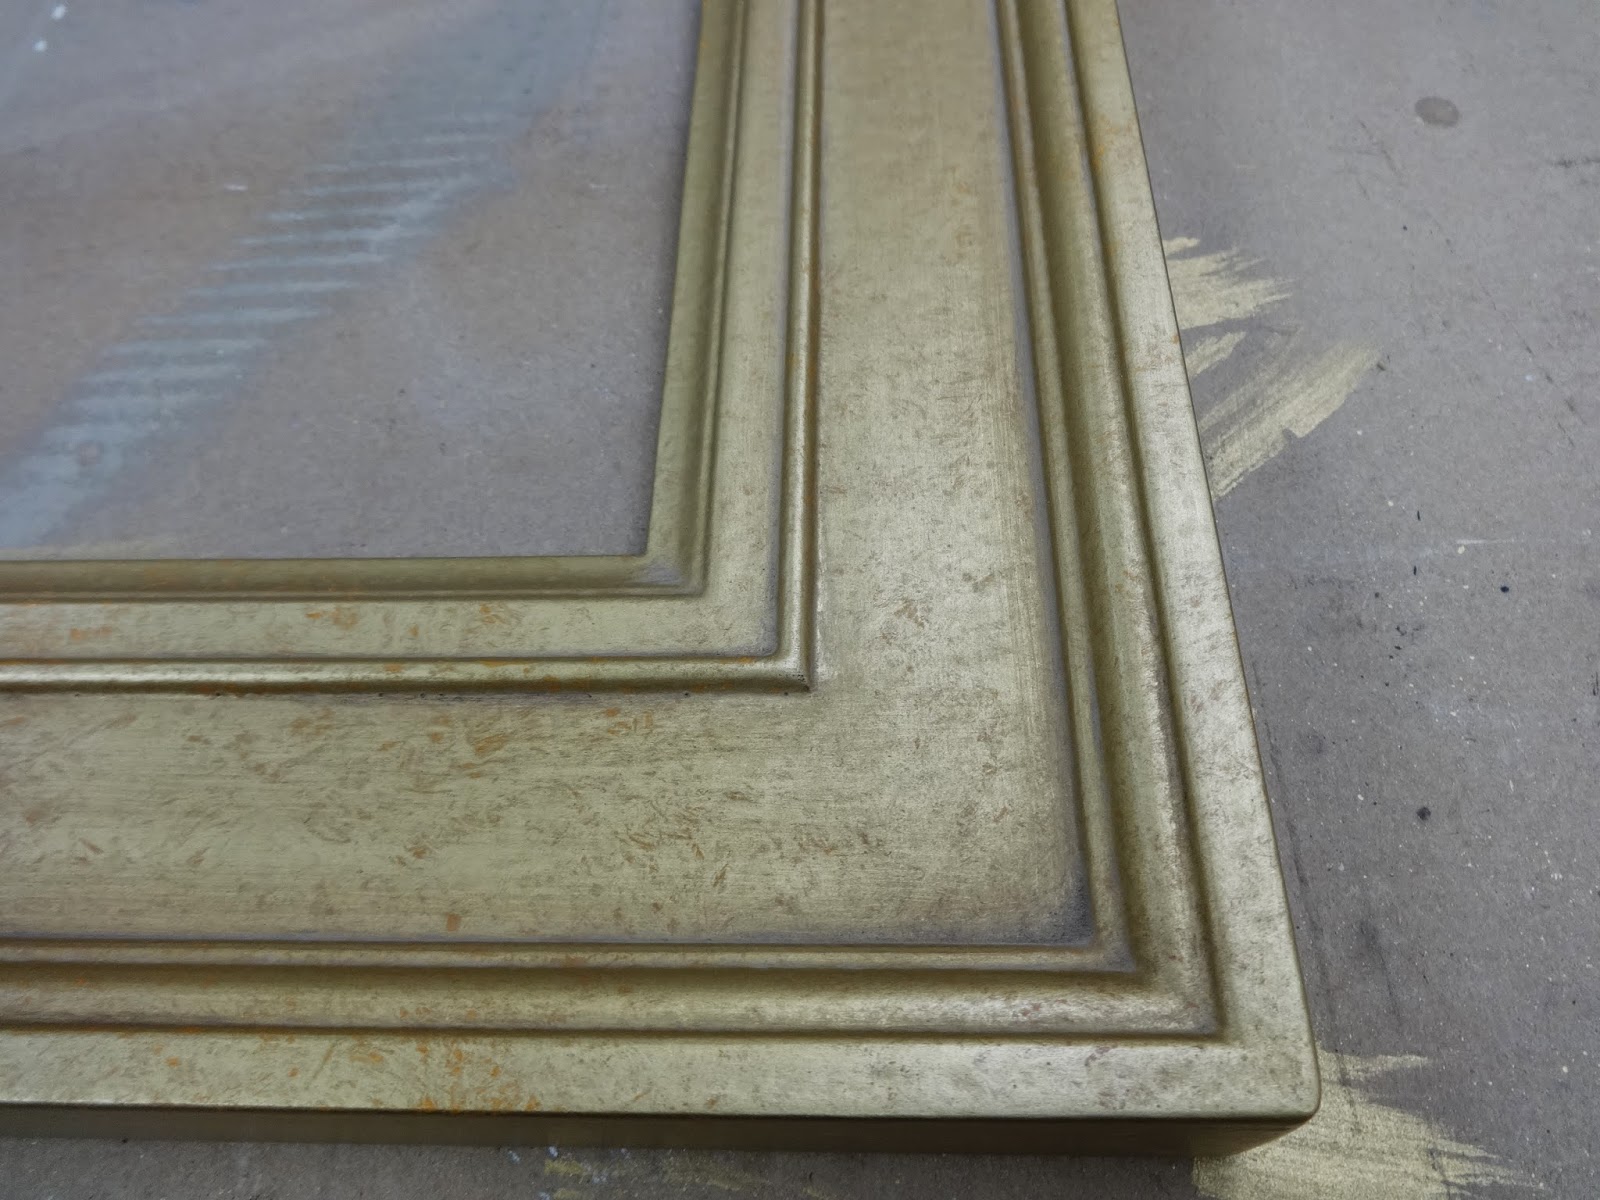
Here are 5 of the 6 frames which have just been finished in an antique bronze coloured gilt effect. All of the frames needed an awful lot of work filling missing areas of gesso, and it is unusual for such a dark bronze finish to be used on antique frames (usually we are removing it!) but the bronze theme is an important part of the clients design brief.

Antique portrait frame


This 19th Century Neo-classical cove frame was one I had in stock, a good standard size at 50" x 40" so it was only a matter of time before a painting came along that it was perfect for, and it is always nice to try and use an antique frame if possible instead of making a reproduction.
The frame was overpainted and had lots of little pieces of compo missing, and damage to the gesso on the cove. The pictures are not in order but show it before, during the overpaint is being removed with acetone, during oil gilding, and finished. The painting was sent away to be restored.

Thursday

More frames...


A real classic Victorian compo frame that was re-gilded all over in matt oil gilding. Inside it is another antique frame with an antique bronze finish, and above is a pile of frames waiting to be joined together.

Friday

Paint finish


This frame has had a couple of coats of gesso, bronze powder was then stippled over red bole, the centre panel has then painted with primer and dark grey paint. Next comes a colourwash...