Monday

Antique compo frame breakdown


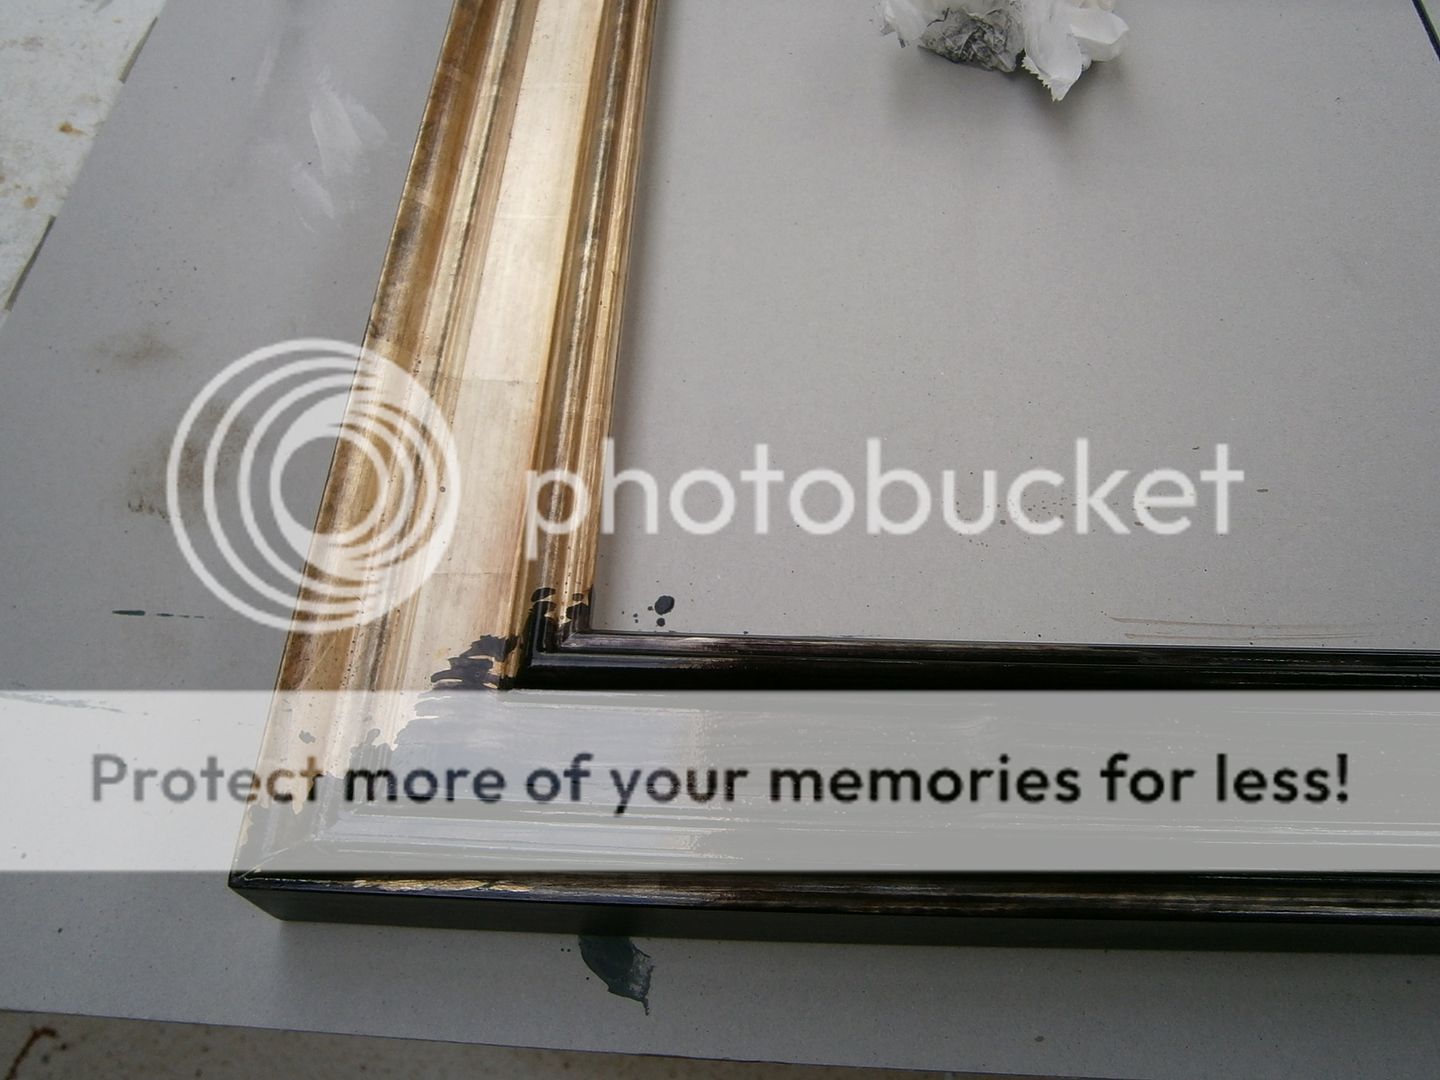
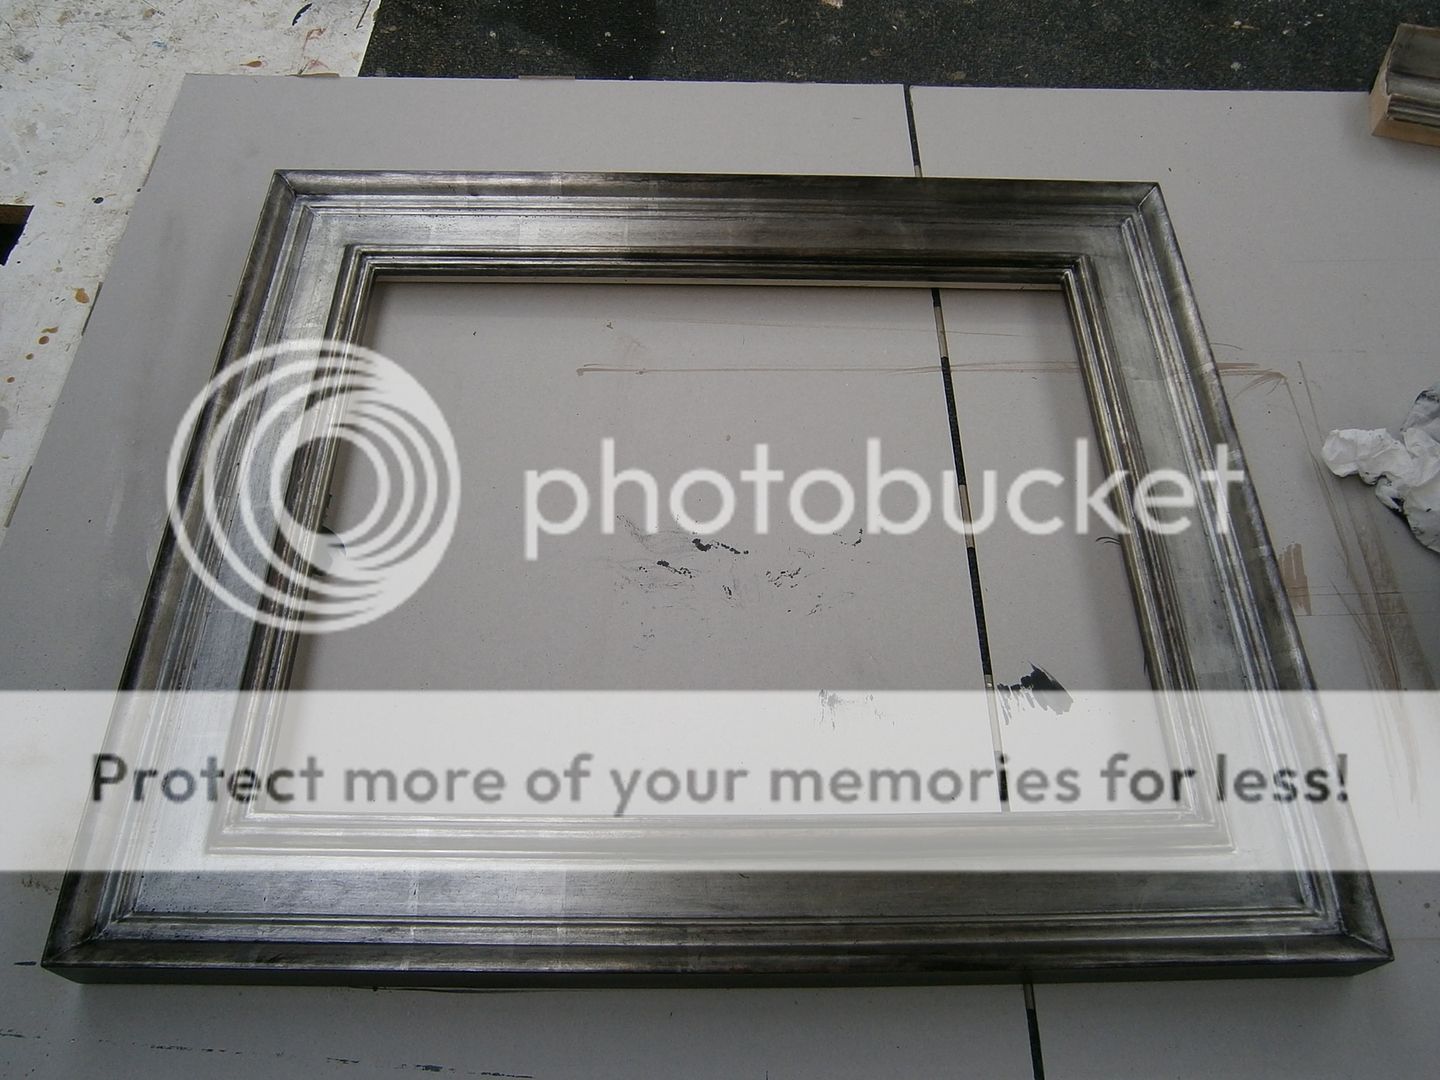
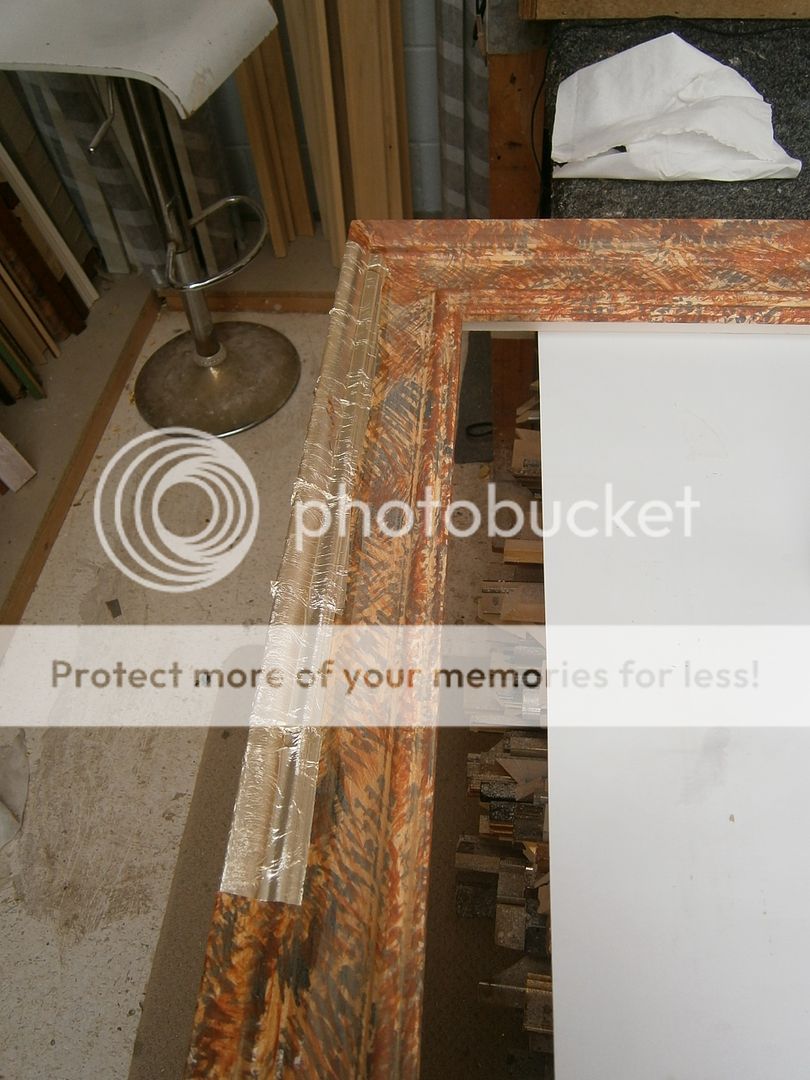
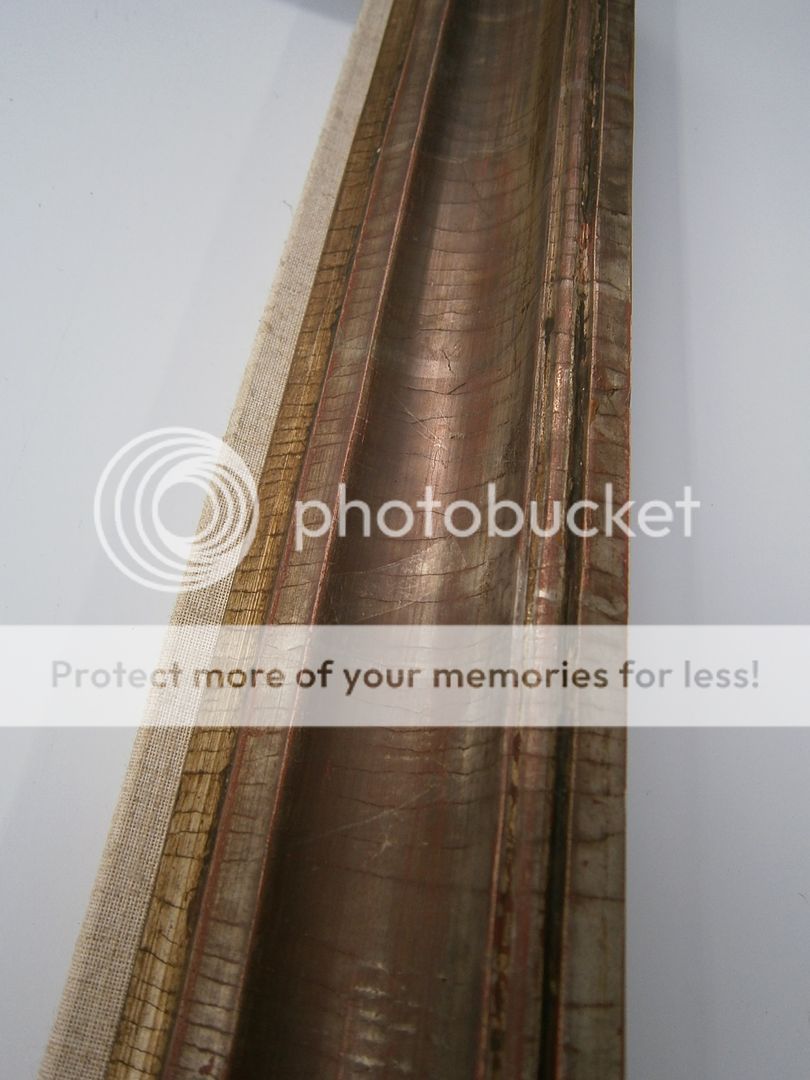
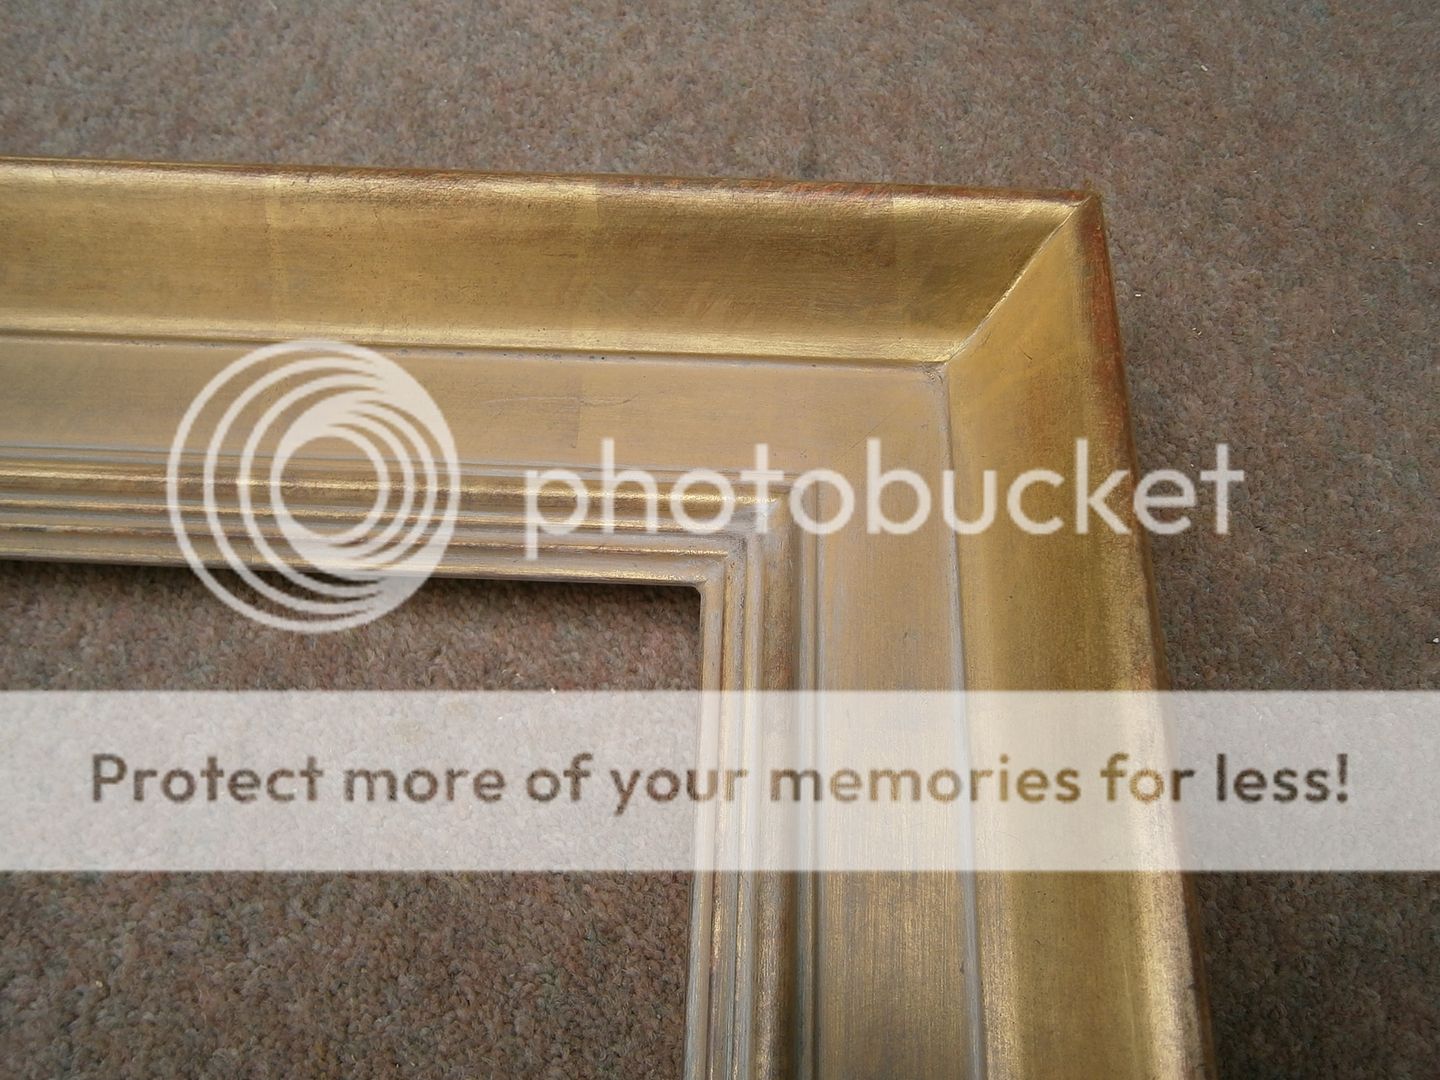
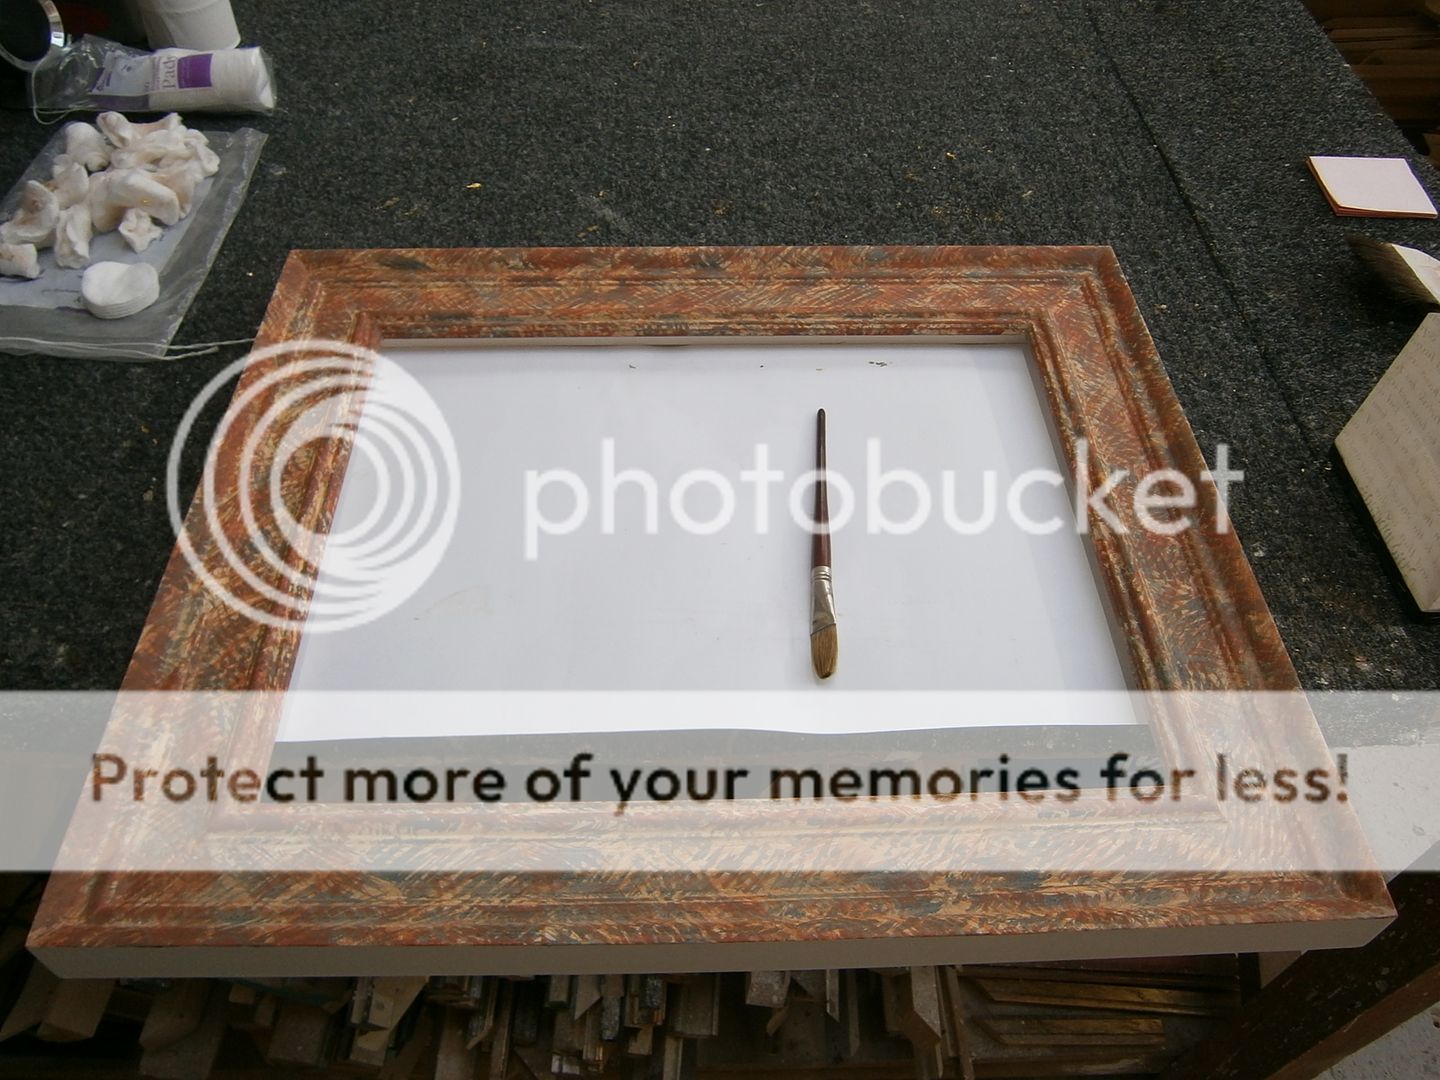
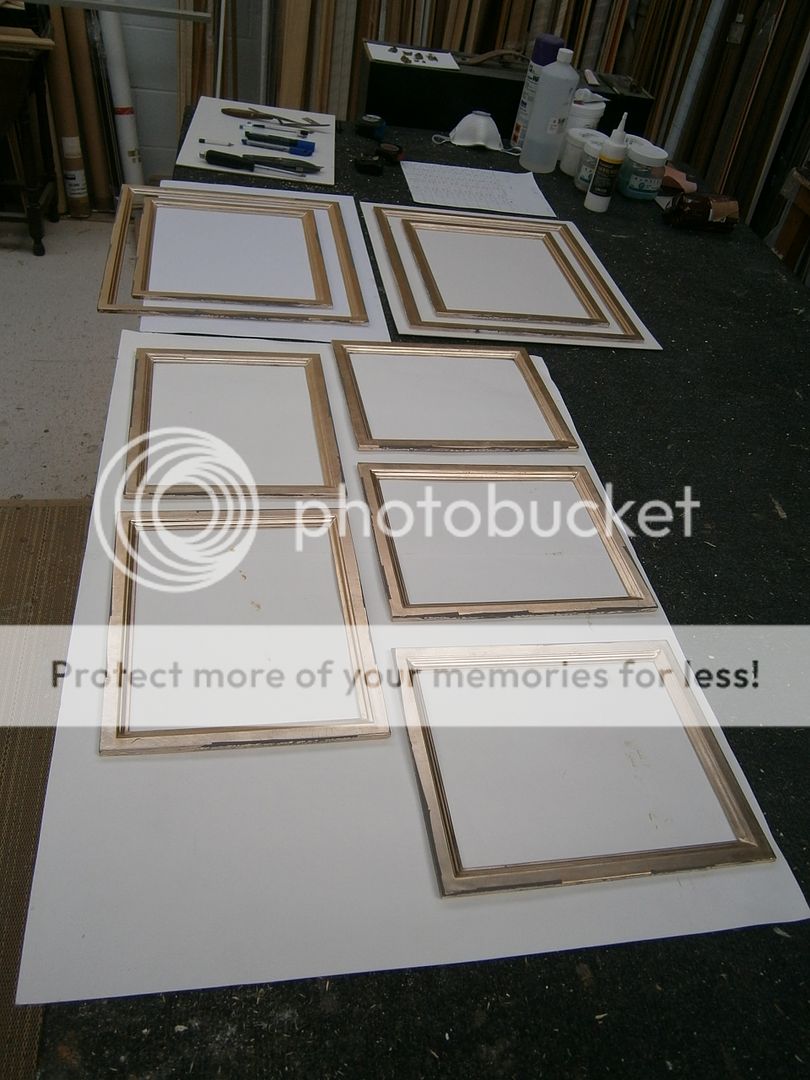
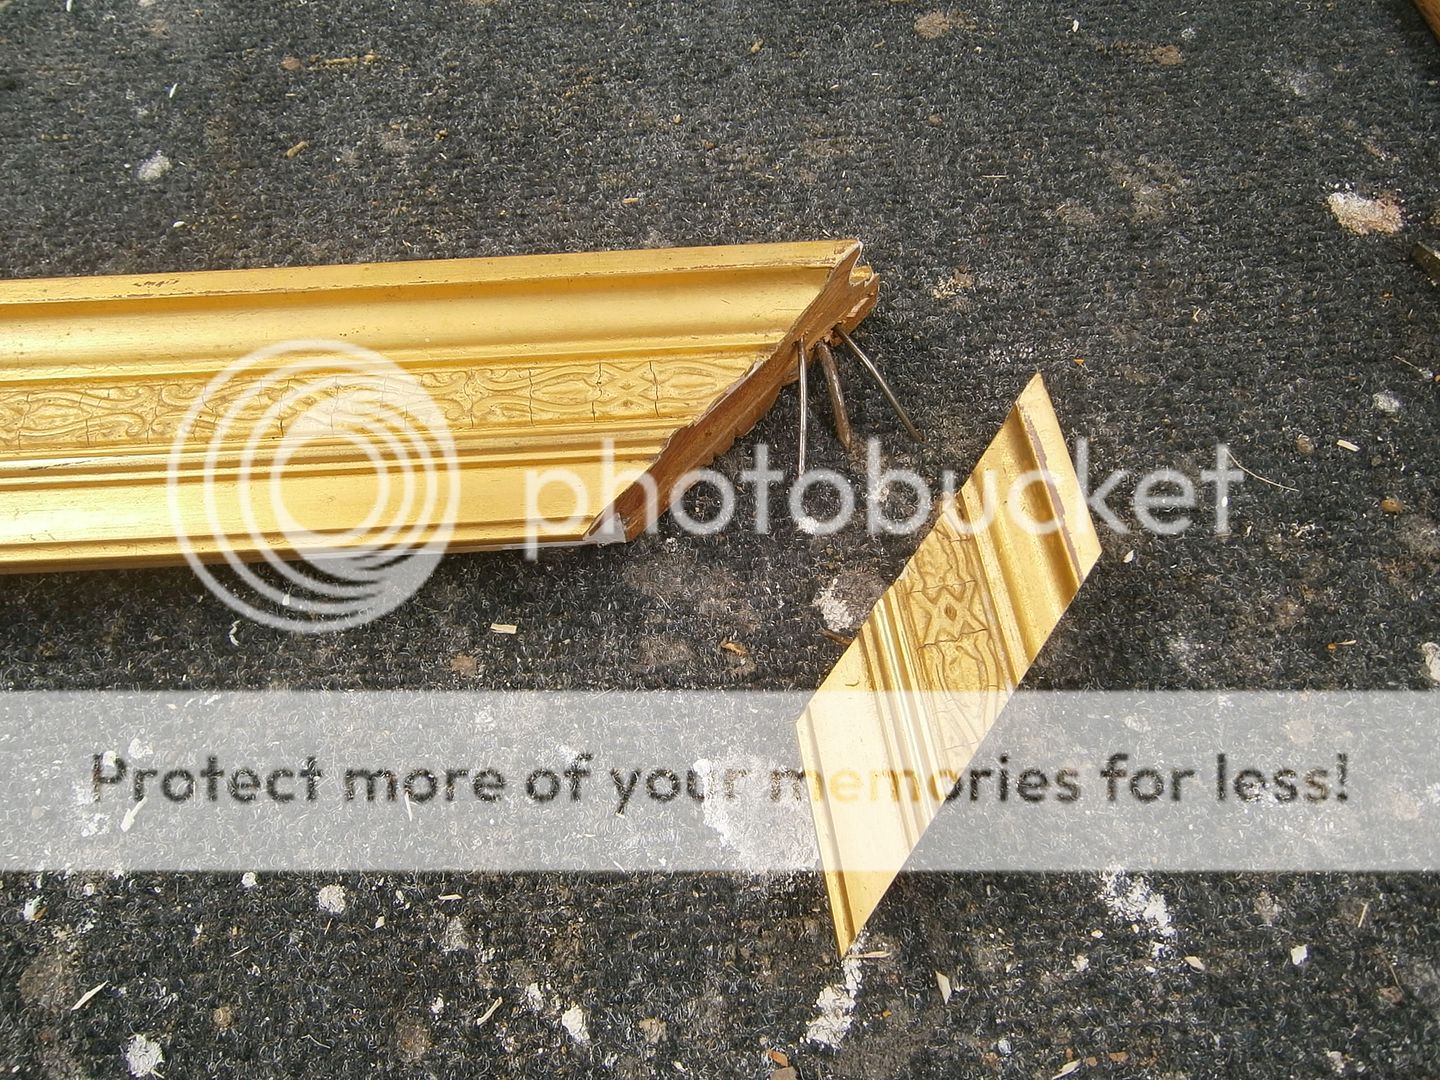
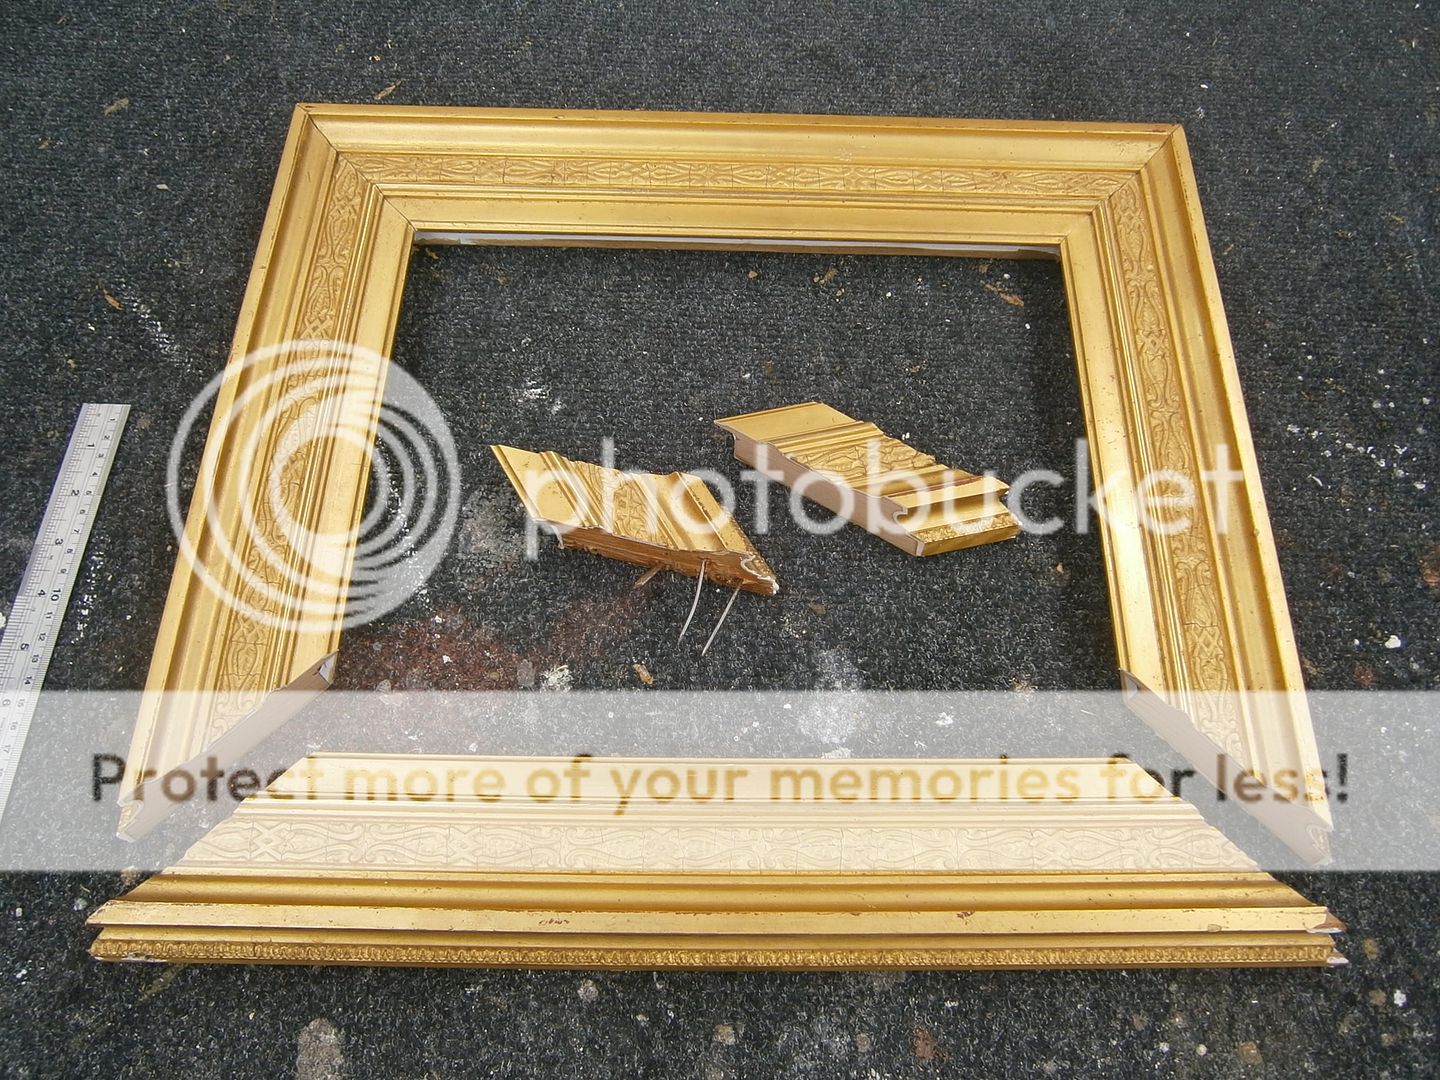
Here are some photos showing the stages of cutting down an antique composition ornamented gilded frame. The long dimension is the correct size, so only the shorter sides needed to be cut down, approximately 1 3/4" needed to be removed. First the two cuts were made at the required size. This left three sides joined together at the correct size and the fourth side still had the excess moulding held in place by the original mitres. A screwdriver was used to carefully push the mitre open, with a bit of prying apart the corner joints were separated, the nails (x4 in each corner) were then removed. The mitre was tidied up with some sanding and scraping, and the last photo shows the frame ready to be joined together (the bottom length is not fixed yet in this photo). There is a small amount of filling required where the nails were, but apart from this the corners came apart very well.

Gilded cushion


A cushion shaped moulding with incised corners and random punched star pattern. Water gilded in 12ct white gold.

Louis XIV carved oak


Sunday

Heart corner


Detail of a corner with a pastiglia heart, the frame is painted in grey/pink bole and will be gilded in 12ct white gold. Below is the frame during the the building up of the gesso layers.

Gilded antique frame


This is the frame from the previous post after it has been gilded, before all the distressing and antiquing has been done.

Friday

Antique moulding frame


I have been so incredibly busy recently that this blog, my website, and the antique frame sale site have all been neglected. I had intentions to update and add lots to them all but have not had time. I have had lots of interesting jobs to do, although many have passed through the workshop without being photographed. This 19th Century moulding frame for example, came in covered in nasty brown overpainting, and had lots of missing areas of gesso. These photos are of the finished repairs and gilding. 


Antique frames website

It's always good to see new blogs and websites about frames, and especially about antique frames. There is a new site created by Mathilde-Jeannine Durand called 'Antique Frames' which looks like it will be another excellent resource for antique frames:

Posting will resume again soon...


Saturday

Washes and glazes


The previous frame is seen here going through various colouring. It was distressed with 0000 wire wool, this way of distressing gilding can look a little severe but that was OK for this frame and the desired finish. 
The images show the effect of different washes or glazes over the gilding. The top photo is after the distressing with wire wool, the frame is shown with a sample which indicates what the final look will be like. The second photo shows a warm glaze, it looks more like gold leaf than white (silver) leaf. The next photo shows the warm glaze is covered with a dark colour which is wiped off to leave a distinct 'blued' look to the frame. The last photo shows the frame after the glazes are built up, and the finish is getting close to the required colour, but some more work still needs to be done...

White gold leaf


The top photo shows me just starting to gild this frame in 12ct white gold. The second photo shows the frame after it has been gilded, you can see a few (not many!) breaks or faults in the finish where the gold did not stick or broke as it was laid, these will be patched with little bits of leaf, this process is known as faulting.

Friday

Voices and Visions Arts Festival


The annual 'Voices and Visions' art exhibition in Worcester cathedral features artwork created by pupils from schools and colleges from all across the county of Worcestershire. Children from primary, middle, and high schools as well as colleges and learning centres have created some very creative pieces. This was one of my favourites, a landscape complete with gilt corner and centre frame. the exhibition runs until 16th June 2013.

20th C silver frame


This silver leaf water gilded frame has come for some minor repairs. It was made sometime during the second half of the 20th Century. I like the tarnished leaf, the colour goes very well with the painting, and the cracked gesso adds a nice aged look.

Gilded frame


This is one of the finished frames that I was gilding yesterday. It is lightly distressed with rottenstone and was finished with a grey-white wash.

Cassetta


Here is another frame with varied bole colours, although it is a different profile to the ones from a few posts ago. This frame will be gilded in 12ct white gold. I quite like this effect as a finish in its own right or a variation of it combined with gilded areas and some other finishing effects.

Distressed frame


A finished distressed paint and bronze powder gilt frame, with a painted gesso slip.

Laying leaf


The various stages of gilding a frame, breaking it down into sections to be laid with leaf. First the outer section and about 1/2" down the outside was done using one leaf (a leaf is 3" x 3") that was cut into two pieces (about 2 1/4" and 3/4"). Next the inner moulding was done using  a single piece of half a leaf. The third section to be gilded was the middle flat, using a piece about 1 1/4" wide.

Wednesday

Gilded slips


Lots of frame slips that have been water gilded in 22ct moon gold.

Multi bole


Gesso frames that have been randomly painted with black bole, then orange, and lastly red. Tomorrow the surface will be polished slightly and then gilded.

Sunday

Rebate size


This moulding has a very narrow rebate width (the dimension from the sight edge to the rebate back edge), it is only about 4mm which is narrower than usual. The frame will surround another moulding and the rebate needs extending to cover a flat edge that is about 12mm wide. I will make the rebate wider using a table saw.

Canvas float


A finished canvas tray float frame, showing the 1/4" gap around the canvas. It is worth pointing out that framing canvases in this way can often be troublesome. Even high quality stretcher bars can be unsquare, this means that measuring the canvas along the edges will appear to give the same dimensions on each side, but the measurement from diagonal corners will show if the bars are square or not. Canvases will also often be slightly narrower in the middle compared to the edges.
The cheaper canvases favoured by many artists are often dramatically unsquare, and even warping in each bar can mean the canvas won't lay level on a flat service.

Bronze powder paint


This frame has had gesso and orange bole base layers, then with bronze powder gilt on the inner and outer edges. In the second photo I am brushing on a green paint wash on the scoop and sides.

Triple mount


A selection of mounts are being cut in the photo at the top, which were then used to make the triple layered mounts seen above. The inner mount is an extra thick (2000 micron compared to the usual 1500 micron) dull white museum board, in the middle is a dark grey with black core, and the top or outer mount is a solid coloured core museum board with a debossed line.

Monday

Dirty label


This partial label from the back of an antique frame was completely obscured by years of dirt and grime. The top photo shows the label has been wetted with distilled water, I forgot to take a photo before this but you can still see that it was impossible to make out any detail on the label. The water softens the adhesive used to stick the label to the frame (a hide gum type glue) and it is easy to remove from the frame, although it's very fragile. 
The label is carefully removed and placed on a piece of long fibre tissue paper which provides support, it is then put in a tray and distilled water is used to soak the label and slowly clean it. This is repeated several times with some hydroxen peroxide also being added in one of the water baths. 
The last photo looks much better in reality, and some more cleaning will bring out more of the detail, but we can now at least read the label, the maker was John Kesson at 28 Diamond Street, (Aberdeen), active in the late 19th and early 20th Centuries.


Saturday

Moon gold


A cove shaped frame with water gilded 22ct moon gold inner and outer edges. Moon gold is made by adding approx 2 parts palladium to 22 parts gold, it has a great colour which is suited to contemporary artwork. Here I am just about to lightly distress the gilded with 0000 wire wool, the scoop and side sections will then be painted.

Small repairs


One of a matching pair of antique (mid 19th Century) compo frames that need a few minor repairs. I am using Lab Putty by Coltène for making moulds of undamaged areas, so I can then cast new pieces to replace the missing sections of compo.