Monday

Merry Christmas!


Merry Christmas and a very happy New Year! to all my clients, customers, suppliers, fellow framers, friends, family, and all visitors to the blog!

Saturday

African landscape


This frame was finished today, it is the last water gilded and painted frame that I will make this year. 

Future repair jobs


I am now winding down for the Christmas and New Year holidays, just a couple more jobs to finish off, and to be collected on Monday. When I get back to work in January I have about 4 weeks work already planned, with the restoration of the frames shown above being just a few examples.
The frame at the top has missing gesso/gilding so these areas will be filled and gilded to match. There are a couple of 19th Century watercolour frames which need repairs and re-gilding. Then there is a 19th C compo swept frame hanging from the wall brackets which has quite a few losses, the good 19th C swept leaning against the shelves has lots of losses and also needs a 1" gilded slip to make it fit an antique oil painting. 
The nice little Watts frame has various losses. The last frame is a lovely Louis XIII flower corner frame which has incised panels with floral designs. This incised gesso is lost in places so needs filling and then incising to match the surrounding designs.

Thursday

Louis XIV frame


This lovely frame came into the workshop this evening, a really good example of a compo ornamented frame. I am going to call it a Louis XIV revival frame for the time being, although I may revise this description once I have had a chance to look through my reference books.

Gesso consolidation


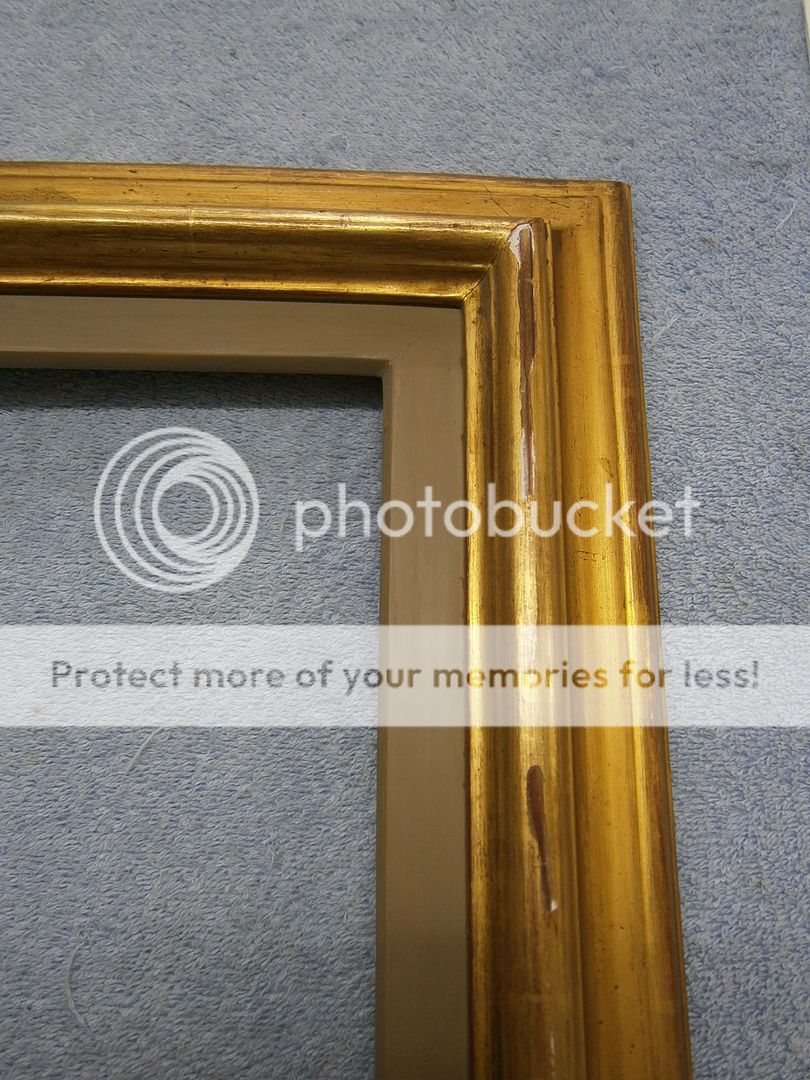
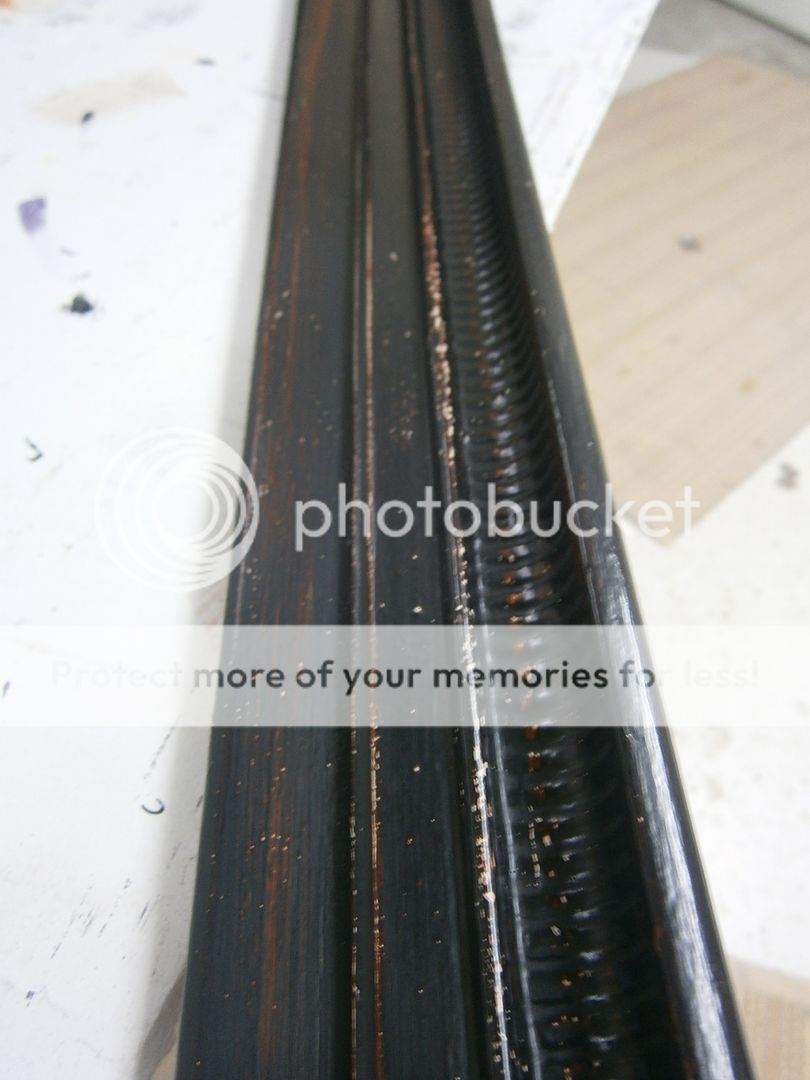
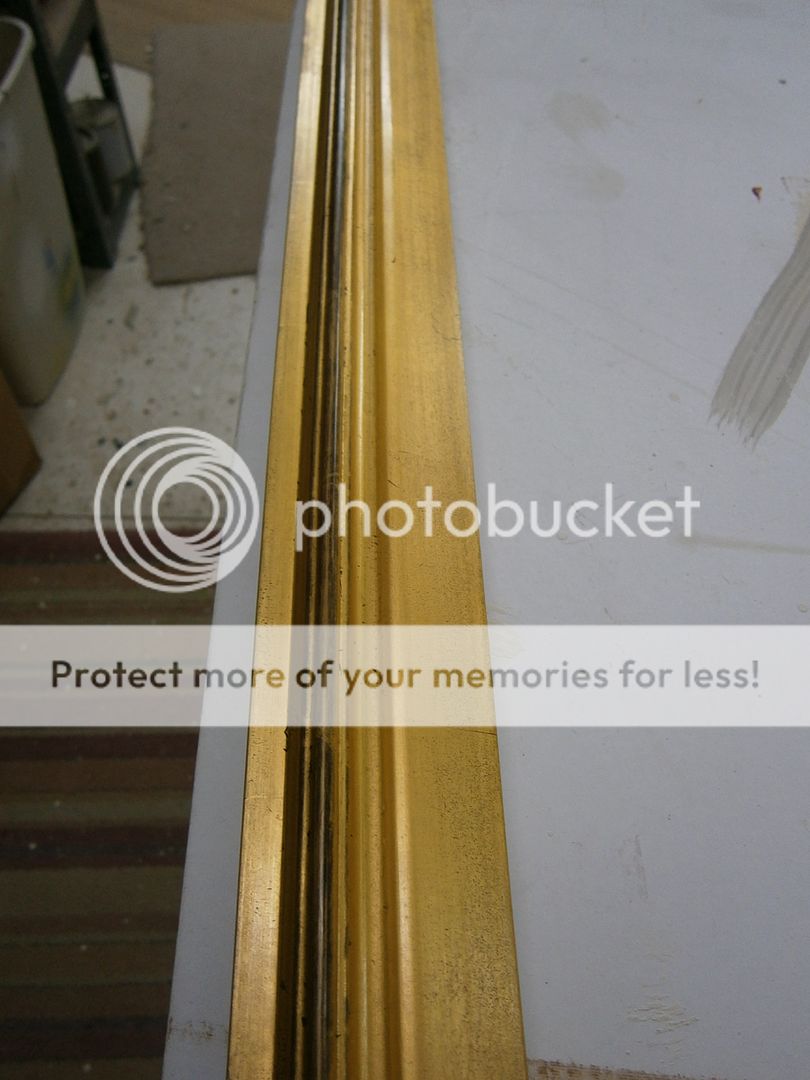
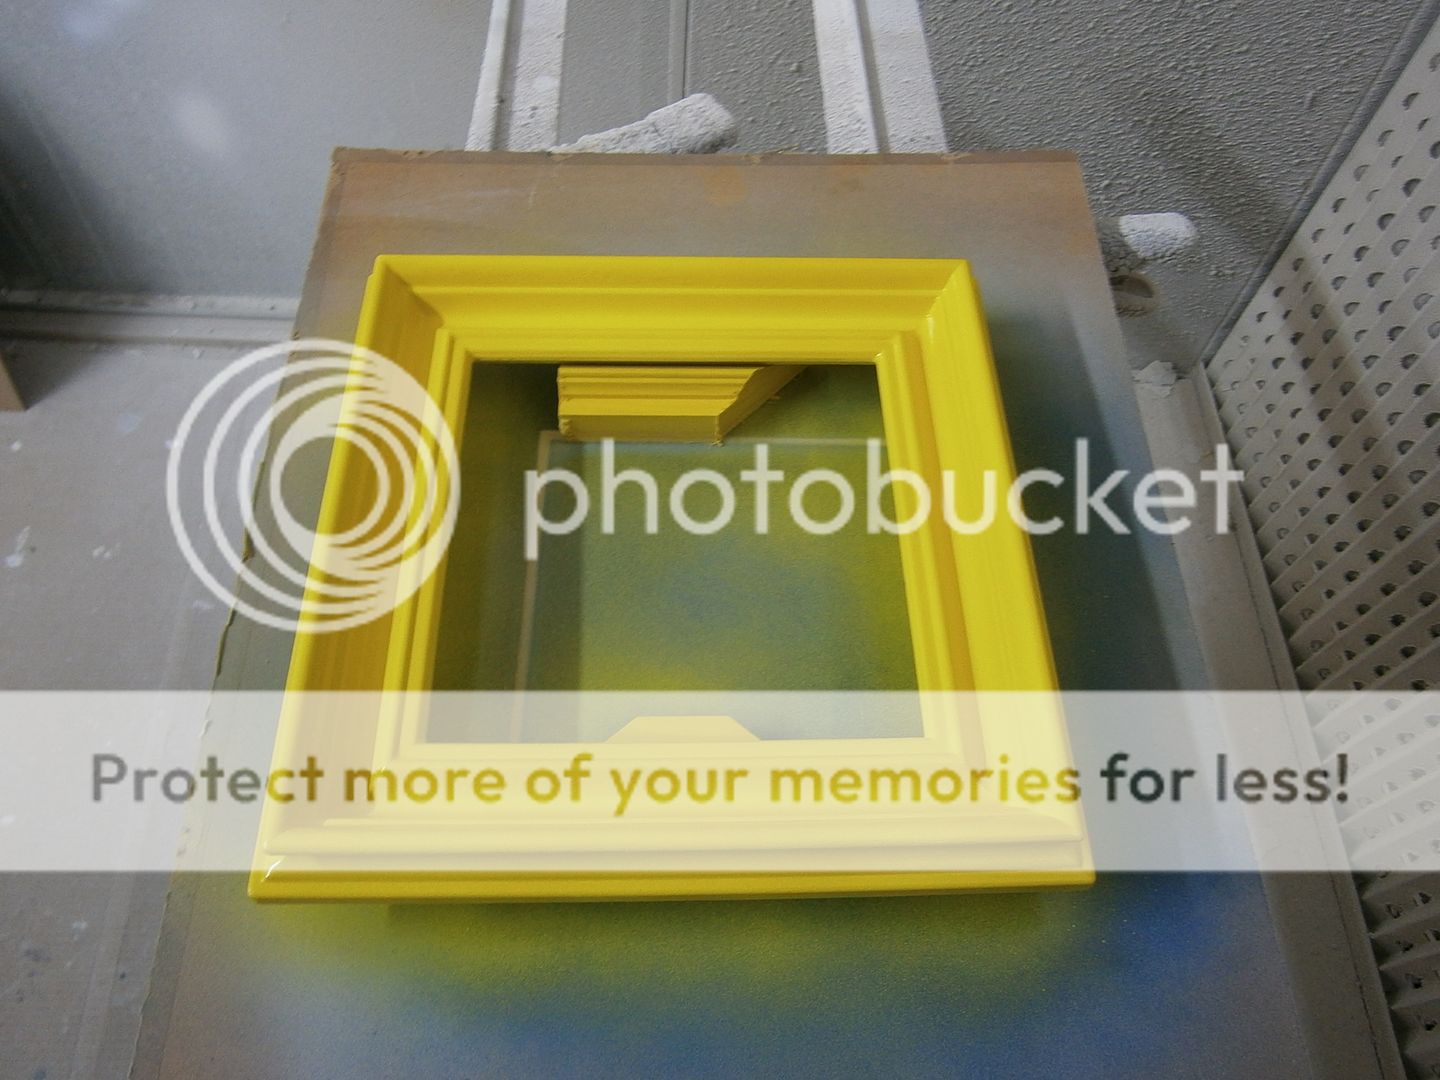
This boldly shaped bevel moulding is an example of an individually designed profile, made by the famous London framer Robert Sielle. I have repaired a number frames by the same maker, surrounding paintings by the same artist over the years, all of which have been custom profiles and all similarly bold and individually crafted. The colour scheme is also a signature of the artist's work. It is a pleasure to work on frames from such a influential framer, and hopefully do my bit for preserving his original work.

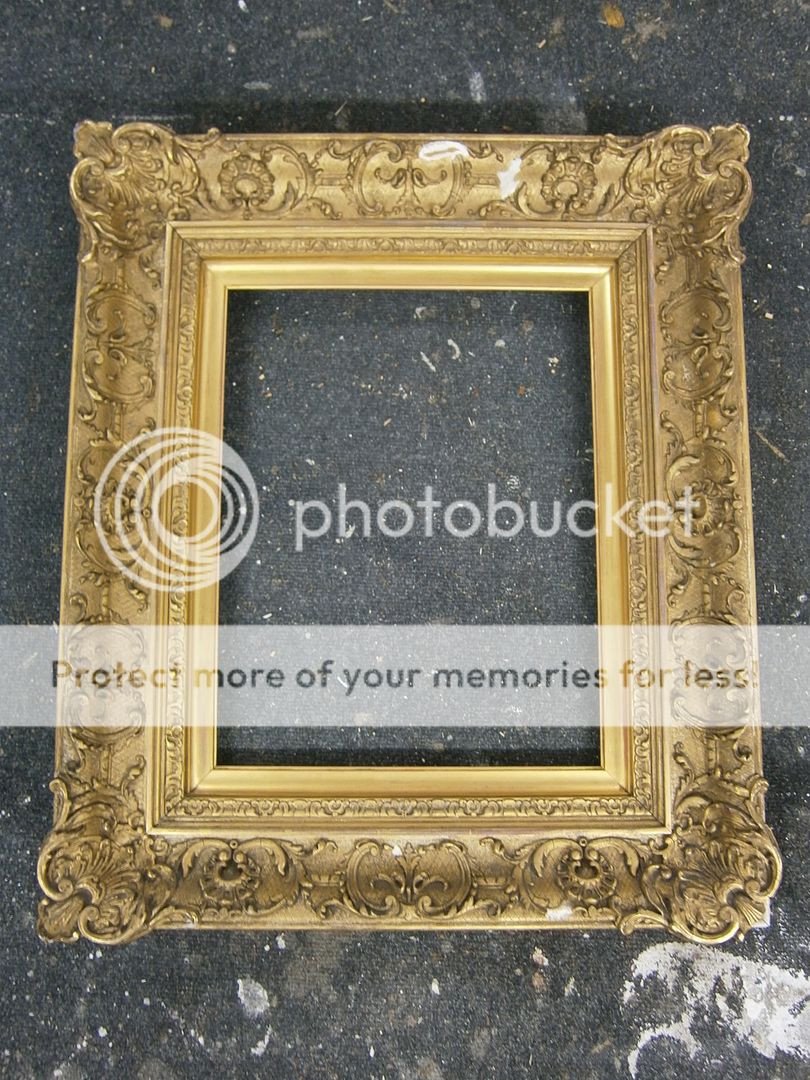
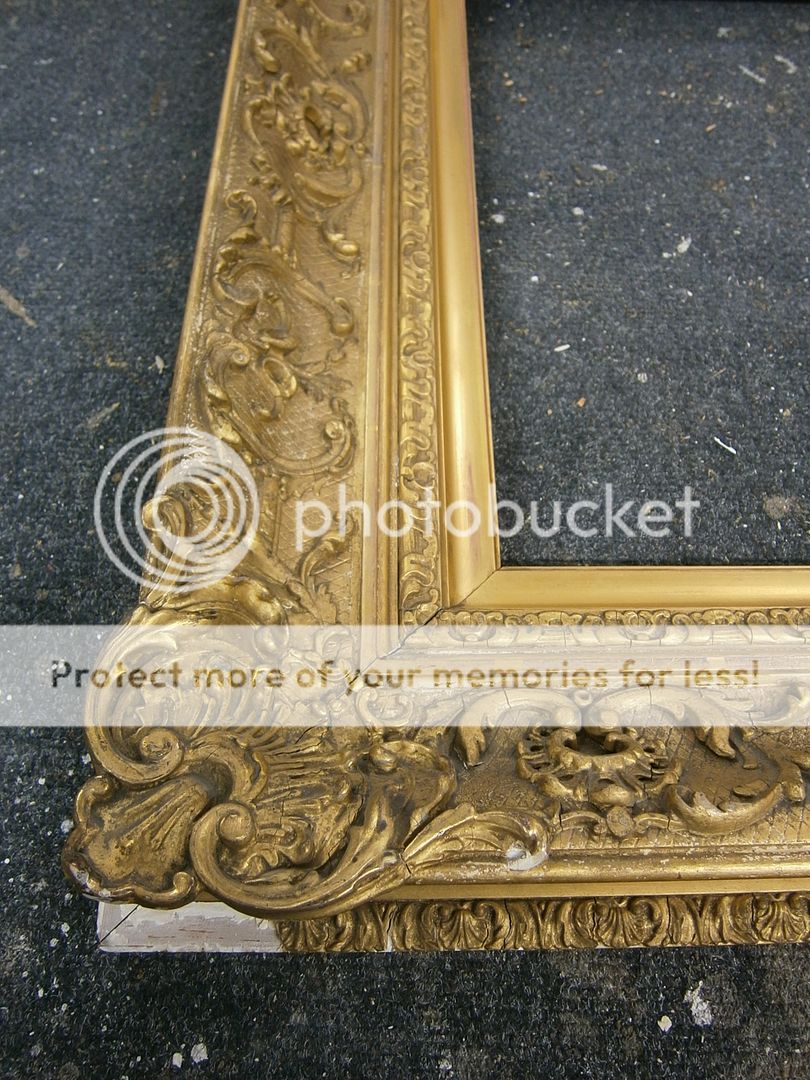
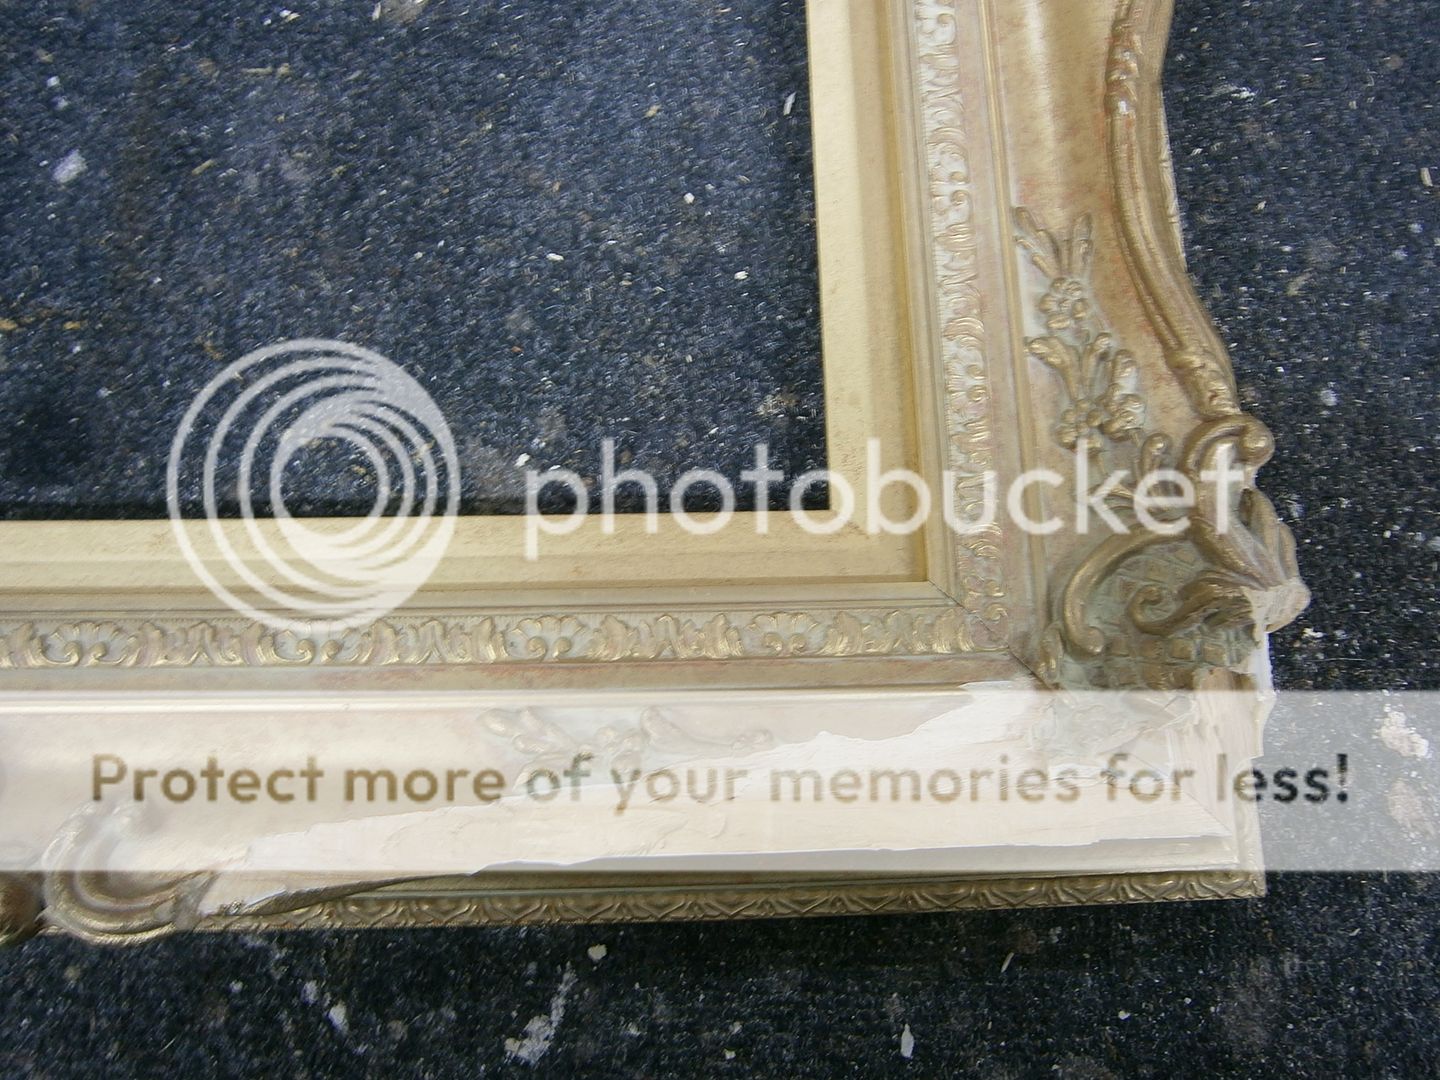
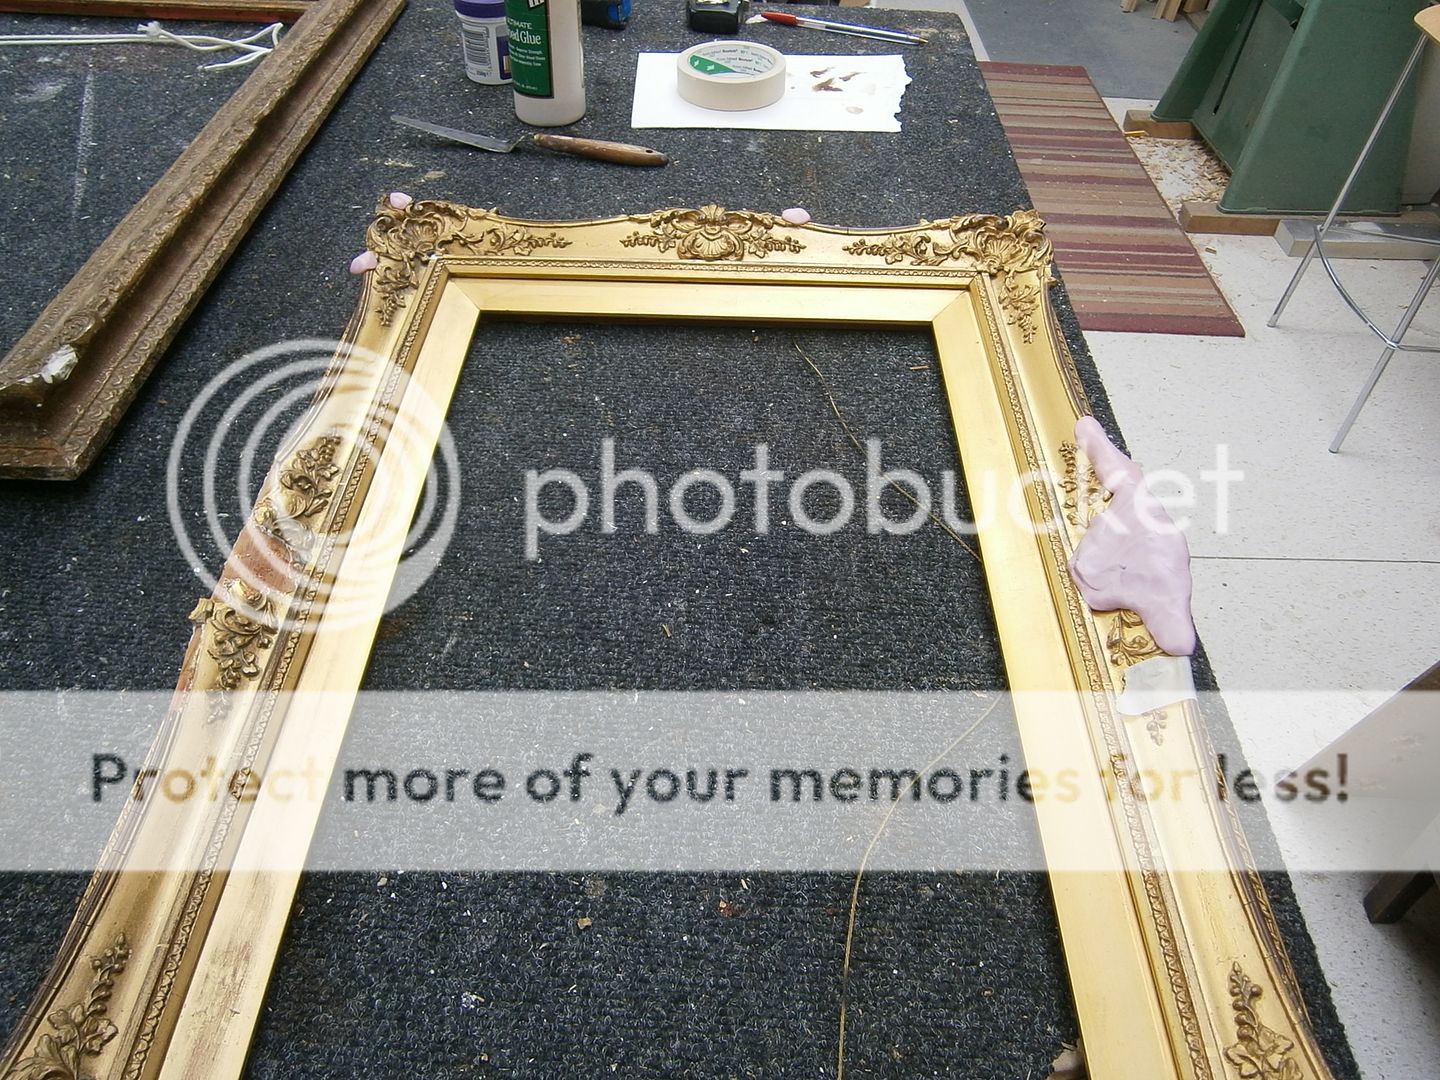
The frame came in with some damage (possibly water damage) to one side, almost all the gesso on this side had flaked off or was badly delaminating. Several other areas of gesso on the exposed inner edge were also loose and flaking off, exposing the pine wood substrate. Gesso suffers from damp conditions and also the effects of central heating, resulting in weakening of the glue bond between layers and the wooden base.

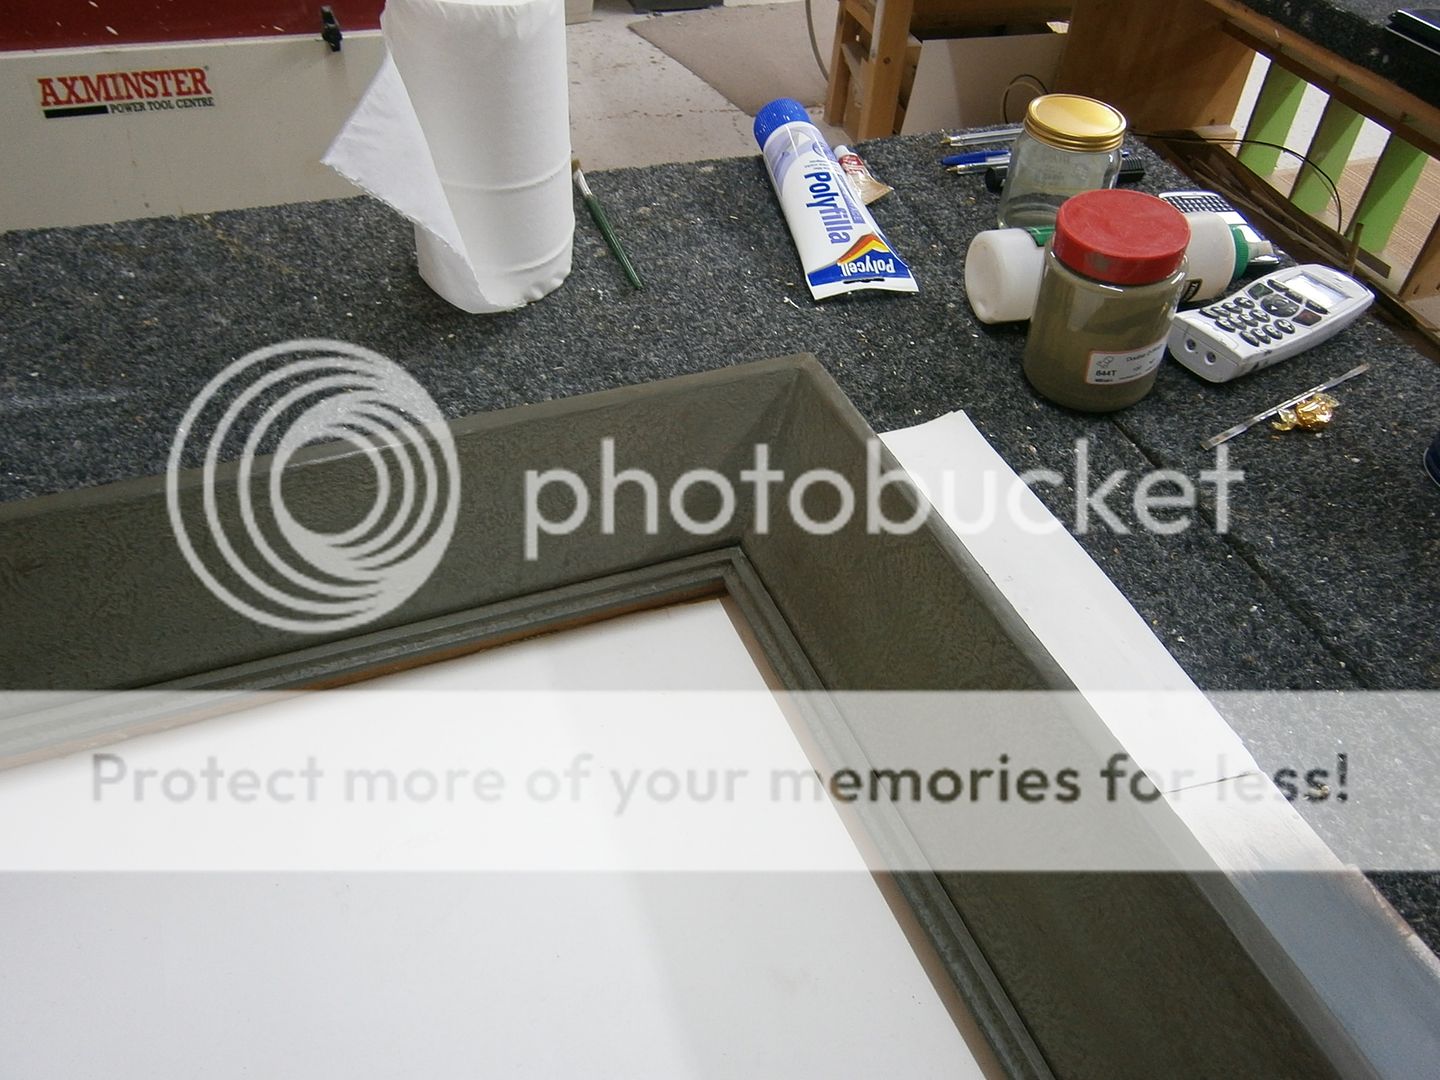
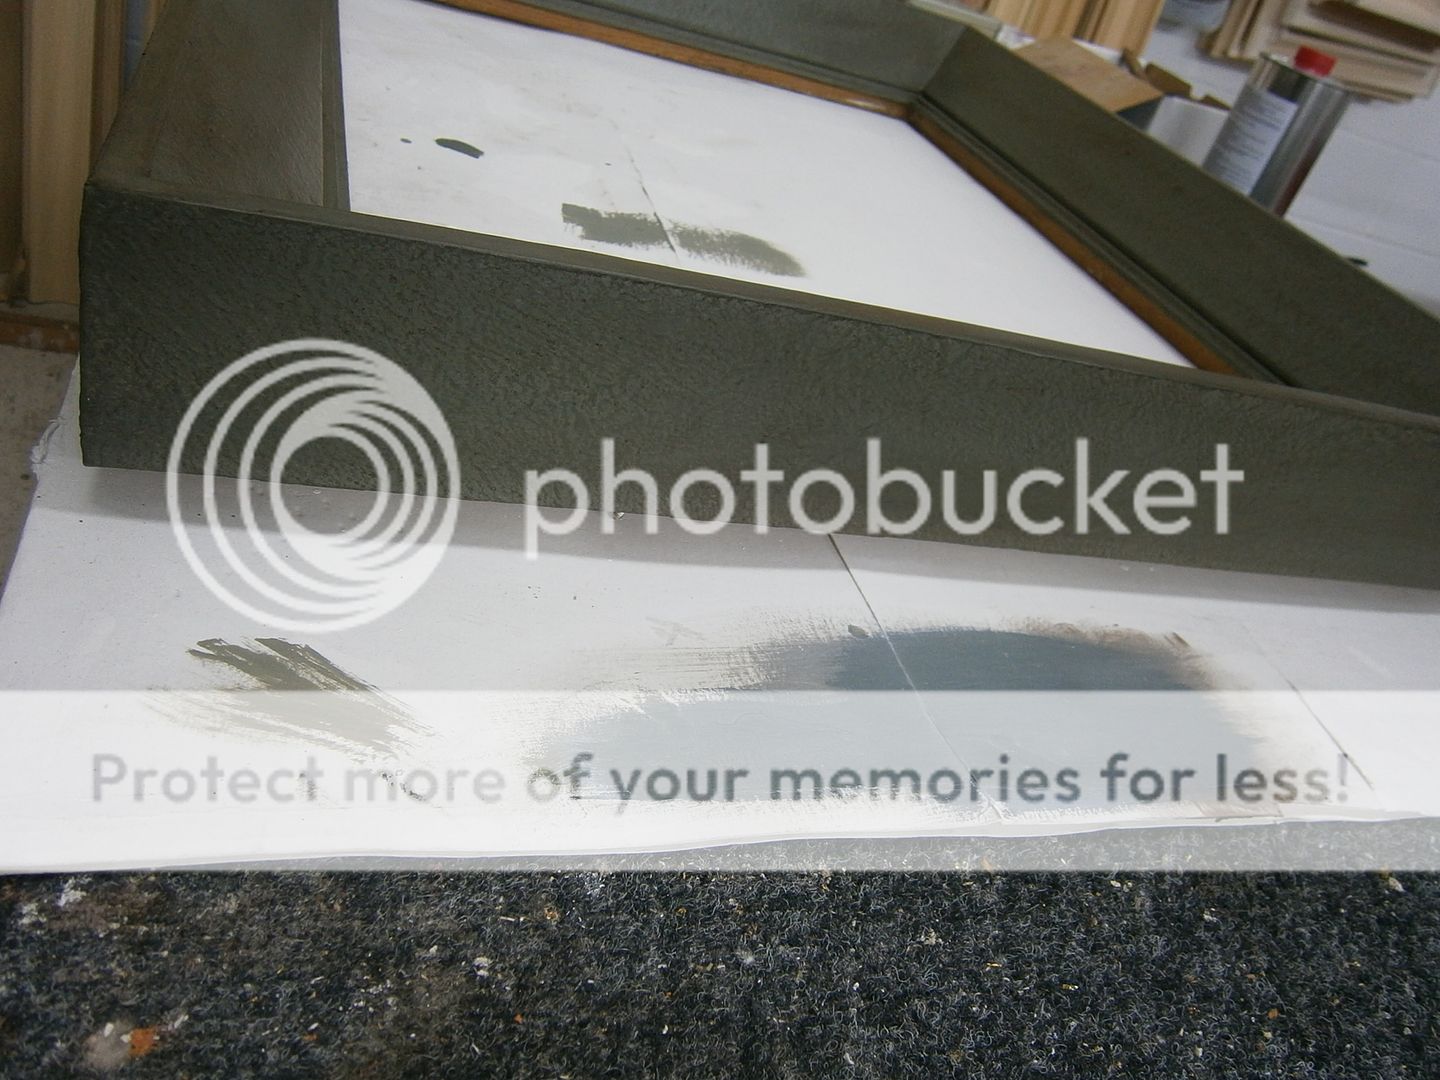
I used an acrylic emulsion (Plextol B500) mixed with water and ethanol to stabilise and consolidate the fragile, powdery gesso and all exposed gesso areas. I then built up the missing areas of gesso using a standard rabbit skin glue/calcium carbonate mixture. The sides, bevel, and inner slip of the frame 
all have a stippled gesso finish, (not the high point which is quite flat and without texture) so this effect was replicated on the side as I built up the new gesso layers. The small infills of gesso were sanded smooth, and then the new gesso areas were painted to match the surrounding original finish - easily the hardest part of the whole process.

Robert Sielle made frames for many of the leading 20th century British artists, detailed information can be read on the National Portrait Gallery website: British Picture Framemakers 1610-1950.
Sir Kyffin Williams used him for about 35 years, some insights into the relationship between artist and framer can be read on the Alice Sielle website: Sir Kyffin Williams on Alice Sielle.

Gesso, paint and gilded finishes


We are getting close to closing up for the end of the year, so just a few more jobs to finish off. Here are a few finishes done yesterday. The top frame is obeche with layers of gesso, it was painted with acrylic primer undercoat, then a couple of coats of Farrow and Ball paint, lastly came some wax and a brush over with some pigments. The middle frame is from around the 1950's, it was a plain bronze colour so the first step was to paint the whole frame in Zinsser BIN primer, next came a coat of red/brown Plaka, then a coat of black Plaka. The whole frame was then distressed and finished with wax. The bottom frame is a typical water gilded and painted frame, the likes of which are often posted on the blog.

Monday

Senelar mouldings


This is a pre-finished moulding, but it is a very good quality finish. It is made by a famous moulding manufacturer in France called Senelar, which is now called Larson-Juhl Senelar since the company was acquired by Larson-Juhl. The mouldings produced at the factory  in France are made using traditional water gilding and hand finishing techniques, and are the peak of pre-finished mouldings. An article on the companies history from Picture Framing Magazine can be seen here: History in the Making.

Plain frame


A simple finish of gold bronze powder with off white painted scoop and grey painted sides.

Saturday

Oak with black wax


This oak box frame is joined together with aluminium dovetail keys, it was then given a good sand, and has been finished with a coat of black wax.

White gold hockey


These antique postcards have been mounted with 3mm thick museum mounboard, glazed with anti-reflective UV glass, and the frames are water gilded in 12ct white gold, which adds a contemporary look.

Repairs to a frame


The repairs to this frame still need to have the detail sharpened and the edges/joins tidied up and blended in with the original ornament. The repairs can then be painted with bole and gilded.

Gilded oak


This oak frame has been water gilded so the grain shows through the gilding. It's an easy to do finish: give the frame a coat of glue size, paint on 3 coats of bole, water gild in 23.5ct gold, distress lightly with 0000 wire wool, give the frame a coat of medium oak wax, dust over with rottenstone, and finally give it a light buff with a cloth.

Antique copy


These photos show various stages of making a matching partner frame for a 19th Century frame. The top shows some different bole colours painted on the copy, the middle photo shows the frame after it has been gilded in 23.5ct gold, with some distressing to the outer moulding. The last photo shows the original frame on the right and the new frame after some more distressing and antiquing, showing they are nearly a matching pair. Next comes a little more toning and patina to make them look the same.

Tuesday

Bright spray paint


A few repairs in progress


Monday

Spray finish


These two frames will eventually have bright glossy sprayed finishes. The barewood frames are obeche which has been coated in several layers of gesso which was then sanded smooth. In these photos I have just sprayed the frames with two coats of white primer, next the surface will be lightly sanded back, and then I will use cans of car spray paint to get the smooth finish which will then be sealed with spray lacquer. Sometimes I mix up paint and use a spray gun but occasionally I use the vast range of colours easily available for car body repairs. It can be tricky getting a good even finish without drips or runs, but when thin layers of paint are carefully built up, you can get a really good smooth finish.

Black and white gold


In the top photo I have gilded the inner and outer edges of this frame in 12ct white gold which was lightly distressed to show the red bole. The gilding was then masked off, and the middle panel was painted with black Plaka. Once dry the next stage was to add some speckles/splatters in watered down grey/black and the whole frame was then sealed with a semi gloss varnish.

Sunday

Not as bad as it looks...


One of the frames from the previous post, with a huge section missing, but luckily I have all the bits so they just need gluing back in place.

Repairs waiting to be done


A line of frames waiting to be repaired and restored next week. I intend to build some sort of drying/storage racking in this part of the workshop, another job for the list of things to do. It is quite a big space which could easily take a large rack for storing frames as they dry.

Distressed aluminium